Sunburst

Let the sunburst in. There ‘s nothing quite like waking up to a beautiful sunrise. This was my view from our deck a few days ago. Just one of those moments that make you stand in awe of our Creator. Sunrise-1
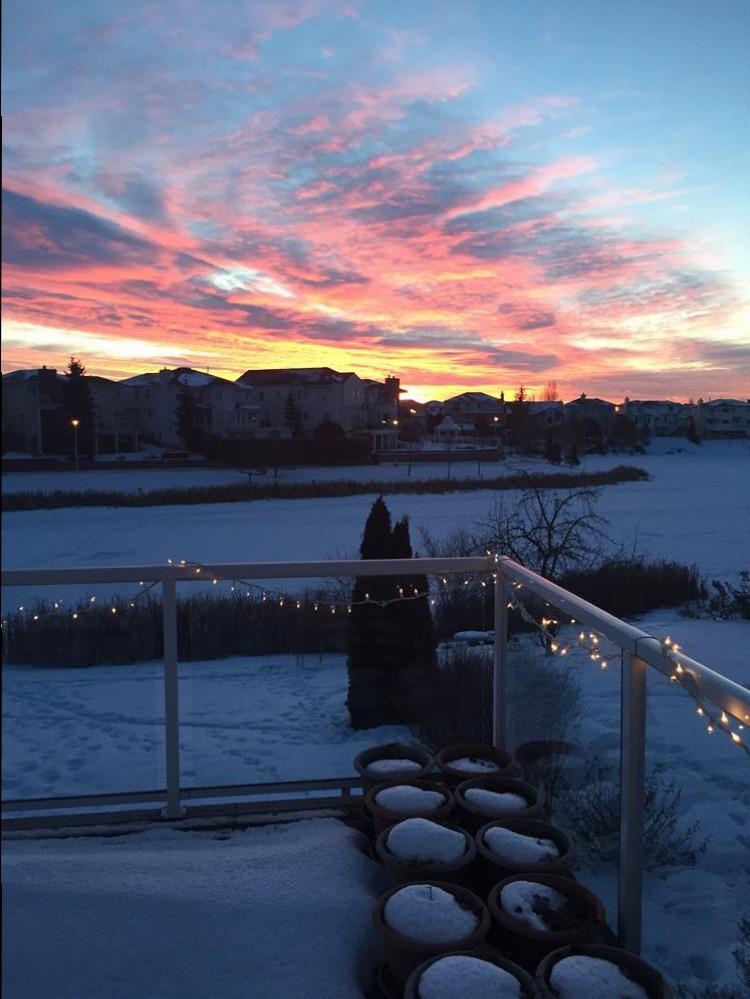
I don’t consider myself a morning person at all, but when I witness moments like this, it makes me want to be one:)

There is a stamp set and framelit combo in the Occasions Catalogue that will definitely brighten anyone’s day. The Sunburst Sayings stamp set and Sunburst Thinlits die is the perfect die for endless creativity. I’ve just started playing with it.

On this first one, the sunburst is just randomly cut to form a sun. (Thanks Kathy House for the design.) The clouds are punched using the Tree Builder Punch, and the balloon is stamped and punched out using our new Balloon Bouquet Punch. Isn’t this a fun happy card?Sunburst-2
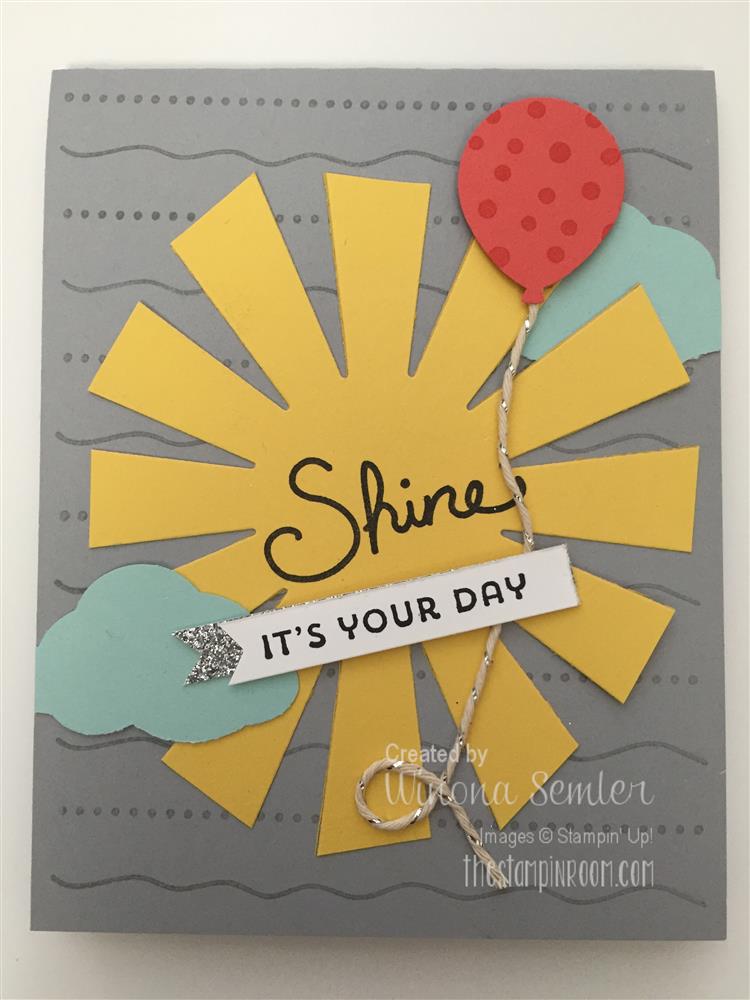
This second one is a little bit more advanced… a little more time consuming, but not difficult. If you like building puzzles, you will love this technique:) The sunburst is cut in multiple colors and then pieced together. It’s also placed at the bottom of the card…giving it an interesting angle.Sunburst-3
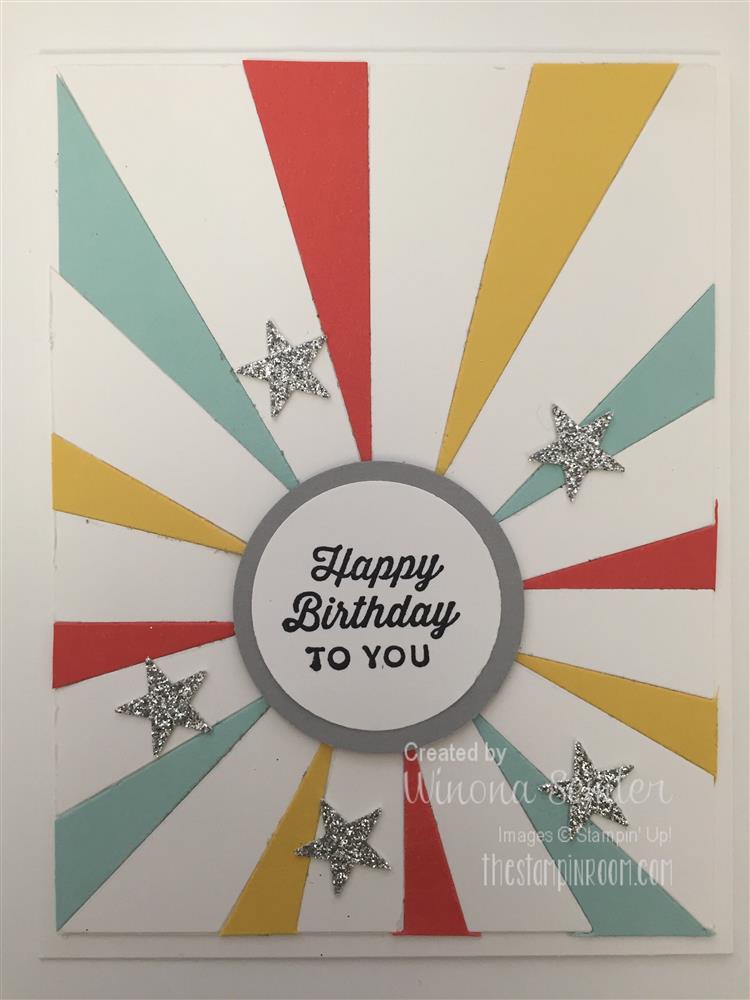
Finally, this one was made with the Sale-a-bration set Hello. I just can’t get enough of this set. Brighten someone’s day with this quick and easy card. The paper in the background is from the It’s My Party Designer Series Pack and the clouds were punched from White Vellum Cardstock.Sunburst-1
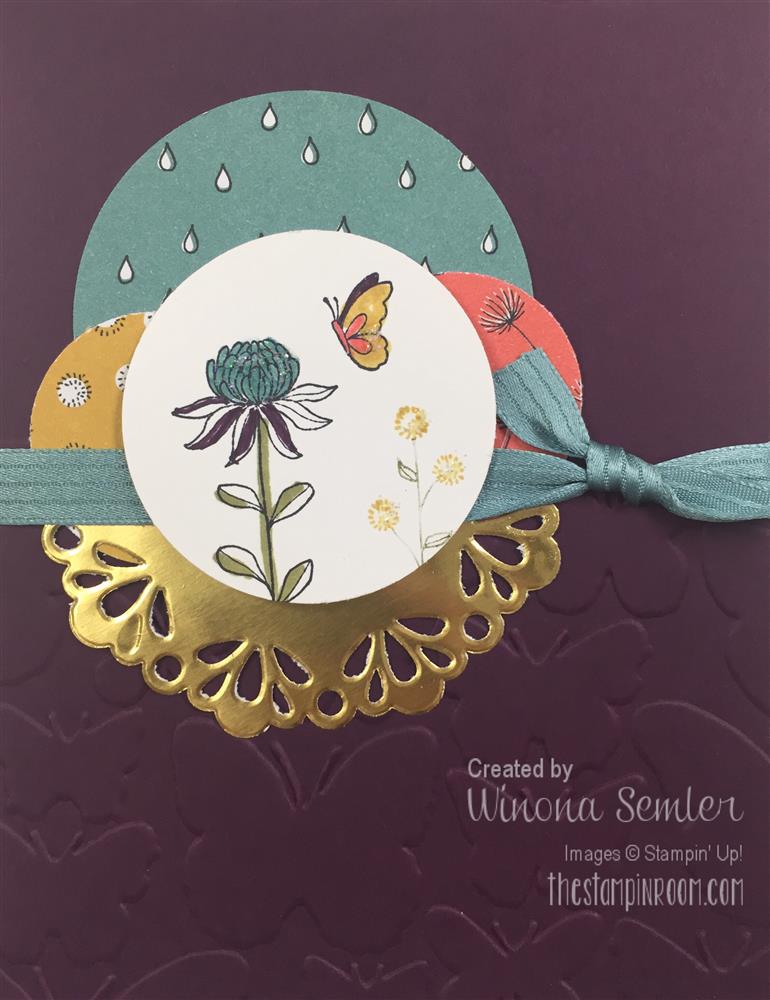
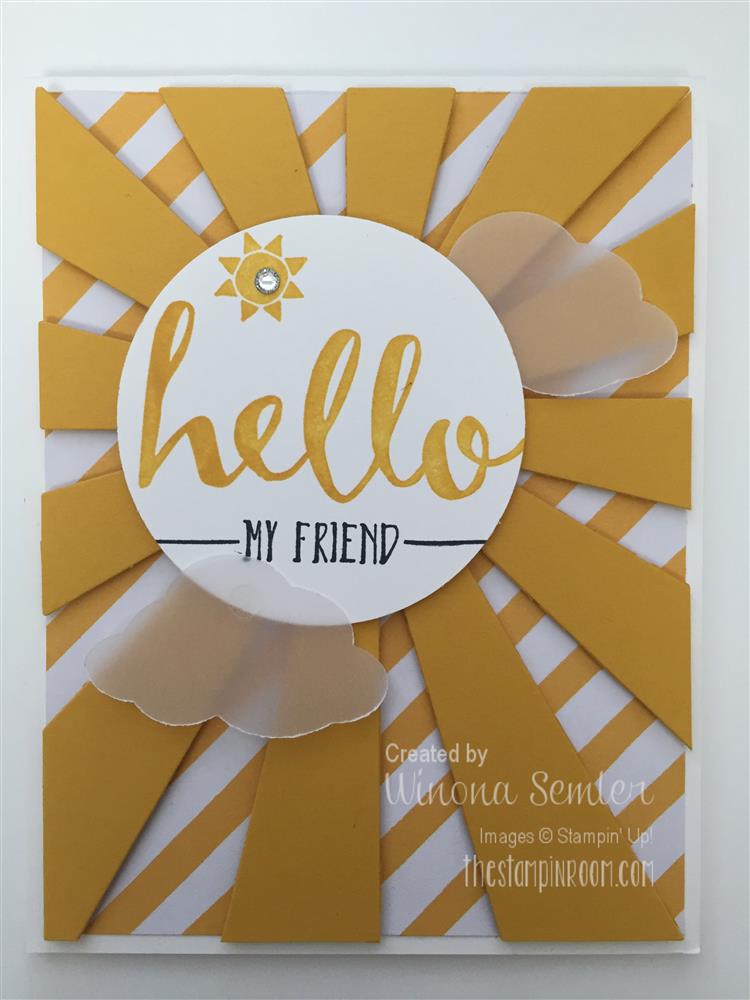
And this is just the beginning! There are so many other possibilities. Use the Sunburst Thinlits die as a layering element, to create a mask, or even for inking.

Thanks for stopping by…
I hope you shine in your little corner of the world today!

Signature

Coordinating Envelopes

I was sitting down today to make little thank you notes with coordinating envelopes…and then I turned on my laptop to see that the Envelope Punch Board is on the Weekly Deals this week!! Yay! I have sang it’s praises to my club members for a while now, and most of them have bought it already. But if some of you have been on the fence about it…wondering how much you would use it…let me say…ALL the time!

These are my customer thank you notes for this month:
Envelopes-2The coffee cup is die-cut from the Cups & Kettle Framelits Dies and the paper is from the Love Blossoms Designer Series Paper Stack. Super cute 3 x 3 cards.

The Envelope Punch Board makes TONS of different sizes of envelopes…66 to be exact!! The directions and measurements are printed right on the board, so it’s very easy to follow. It also has a wonderful corner rounder feature at the top. (I did not use it on these envelopes though.) But it’s the only corner rounder I use!
Envelopes-1It’s on sale for $18.75! Seriously…what are you waiting for?

Weekly Deals
Weekly Deals Feb 16-22I hope you all had a wonderful weekend…here in Alberta, it was an extra happy weekend as we celebrated Family Day yesterday. So here’s to a short week:)

Don’t forget to place your Sale-a-bration order. There are new items to choose from this week! Click HERE to view them. There is glimmer washi tape!! And then click HERE when you are ready to place your online order.

Thanks so much for stopping by,
Signature 

Flowering Fields

The first Sale-a-bration set I fell in love with was Flowering Fields. There are 7 different flower images that can be used separately or all together to make a garden. I sat down this morning to make some quick and easy cards to have on hand this month. They all follow the same design which makes it easy to crank out several at a time.
Flowering-Fields-1These can be duplicated with a few stamp pad colors and very basic supplies. The card bases are all cut from Crumb Cake cardstock. The accent designer paper strips are from the coordinating Wildflower Fields Designer Series Paper pack (free Sale-a-bration item).
Flowering-Fields-2I used half a tea lace paper doily on the side of each card…and Crushed Curry Baker’s Twine for all of the bows (which by the way is on the Weekly Deals this week). Very clean and simple.Flowering-Fields-3Have you noticed that there is no coloring involved? I said simple and duplicatable. I rounded the corners using our Envelope Punch Board. If you have had troubles with small corner rounders, the corner rounder feature on the board is VERY easy to use with a high success rate:) It’s the one I always use.Flowering-Fields-4This one looks a little different because I simply cut a piece of designer paper instead of white cardstock as the mat…but it’s the same basic design. The tag on top is just a 2″x4″ piece of Soft Sky cardstock put through the Ornate Tag Topper Punch. The “enjoy your day” is punched with the Washi Label Punch.

I have a couple other samples from my team to share with you as well.

This first one was made by Donna Wizniuk. I love how she put each flower image on their own panel. Again, very clean and simple…with minimal coloring.Flowering-Fields-5And this one was made by Kathy House. She embossed the Blackberry Bliss card base with the Fluttering Embossing Folder. The delicate gold metallic foil doily adds a little elegance to this card. So pretty.Flowering-Fields-6I hope you are inspired by these samples and find some time in your day to create. There are opportunities all around us to be creative each day. It’s good for the soul.

Thanks for stopping by. Have an awesome day!

Signature