My daughter Samantha penned a saying for one of my frames that says, “Kindness Changes Everything.” I love it. It’s a daily reminder to think before we speak…before we act…and to be intentional in showing kindness to those around us.
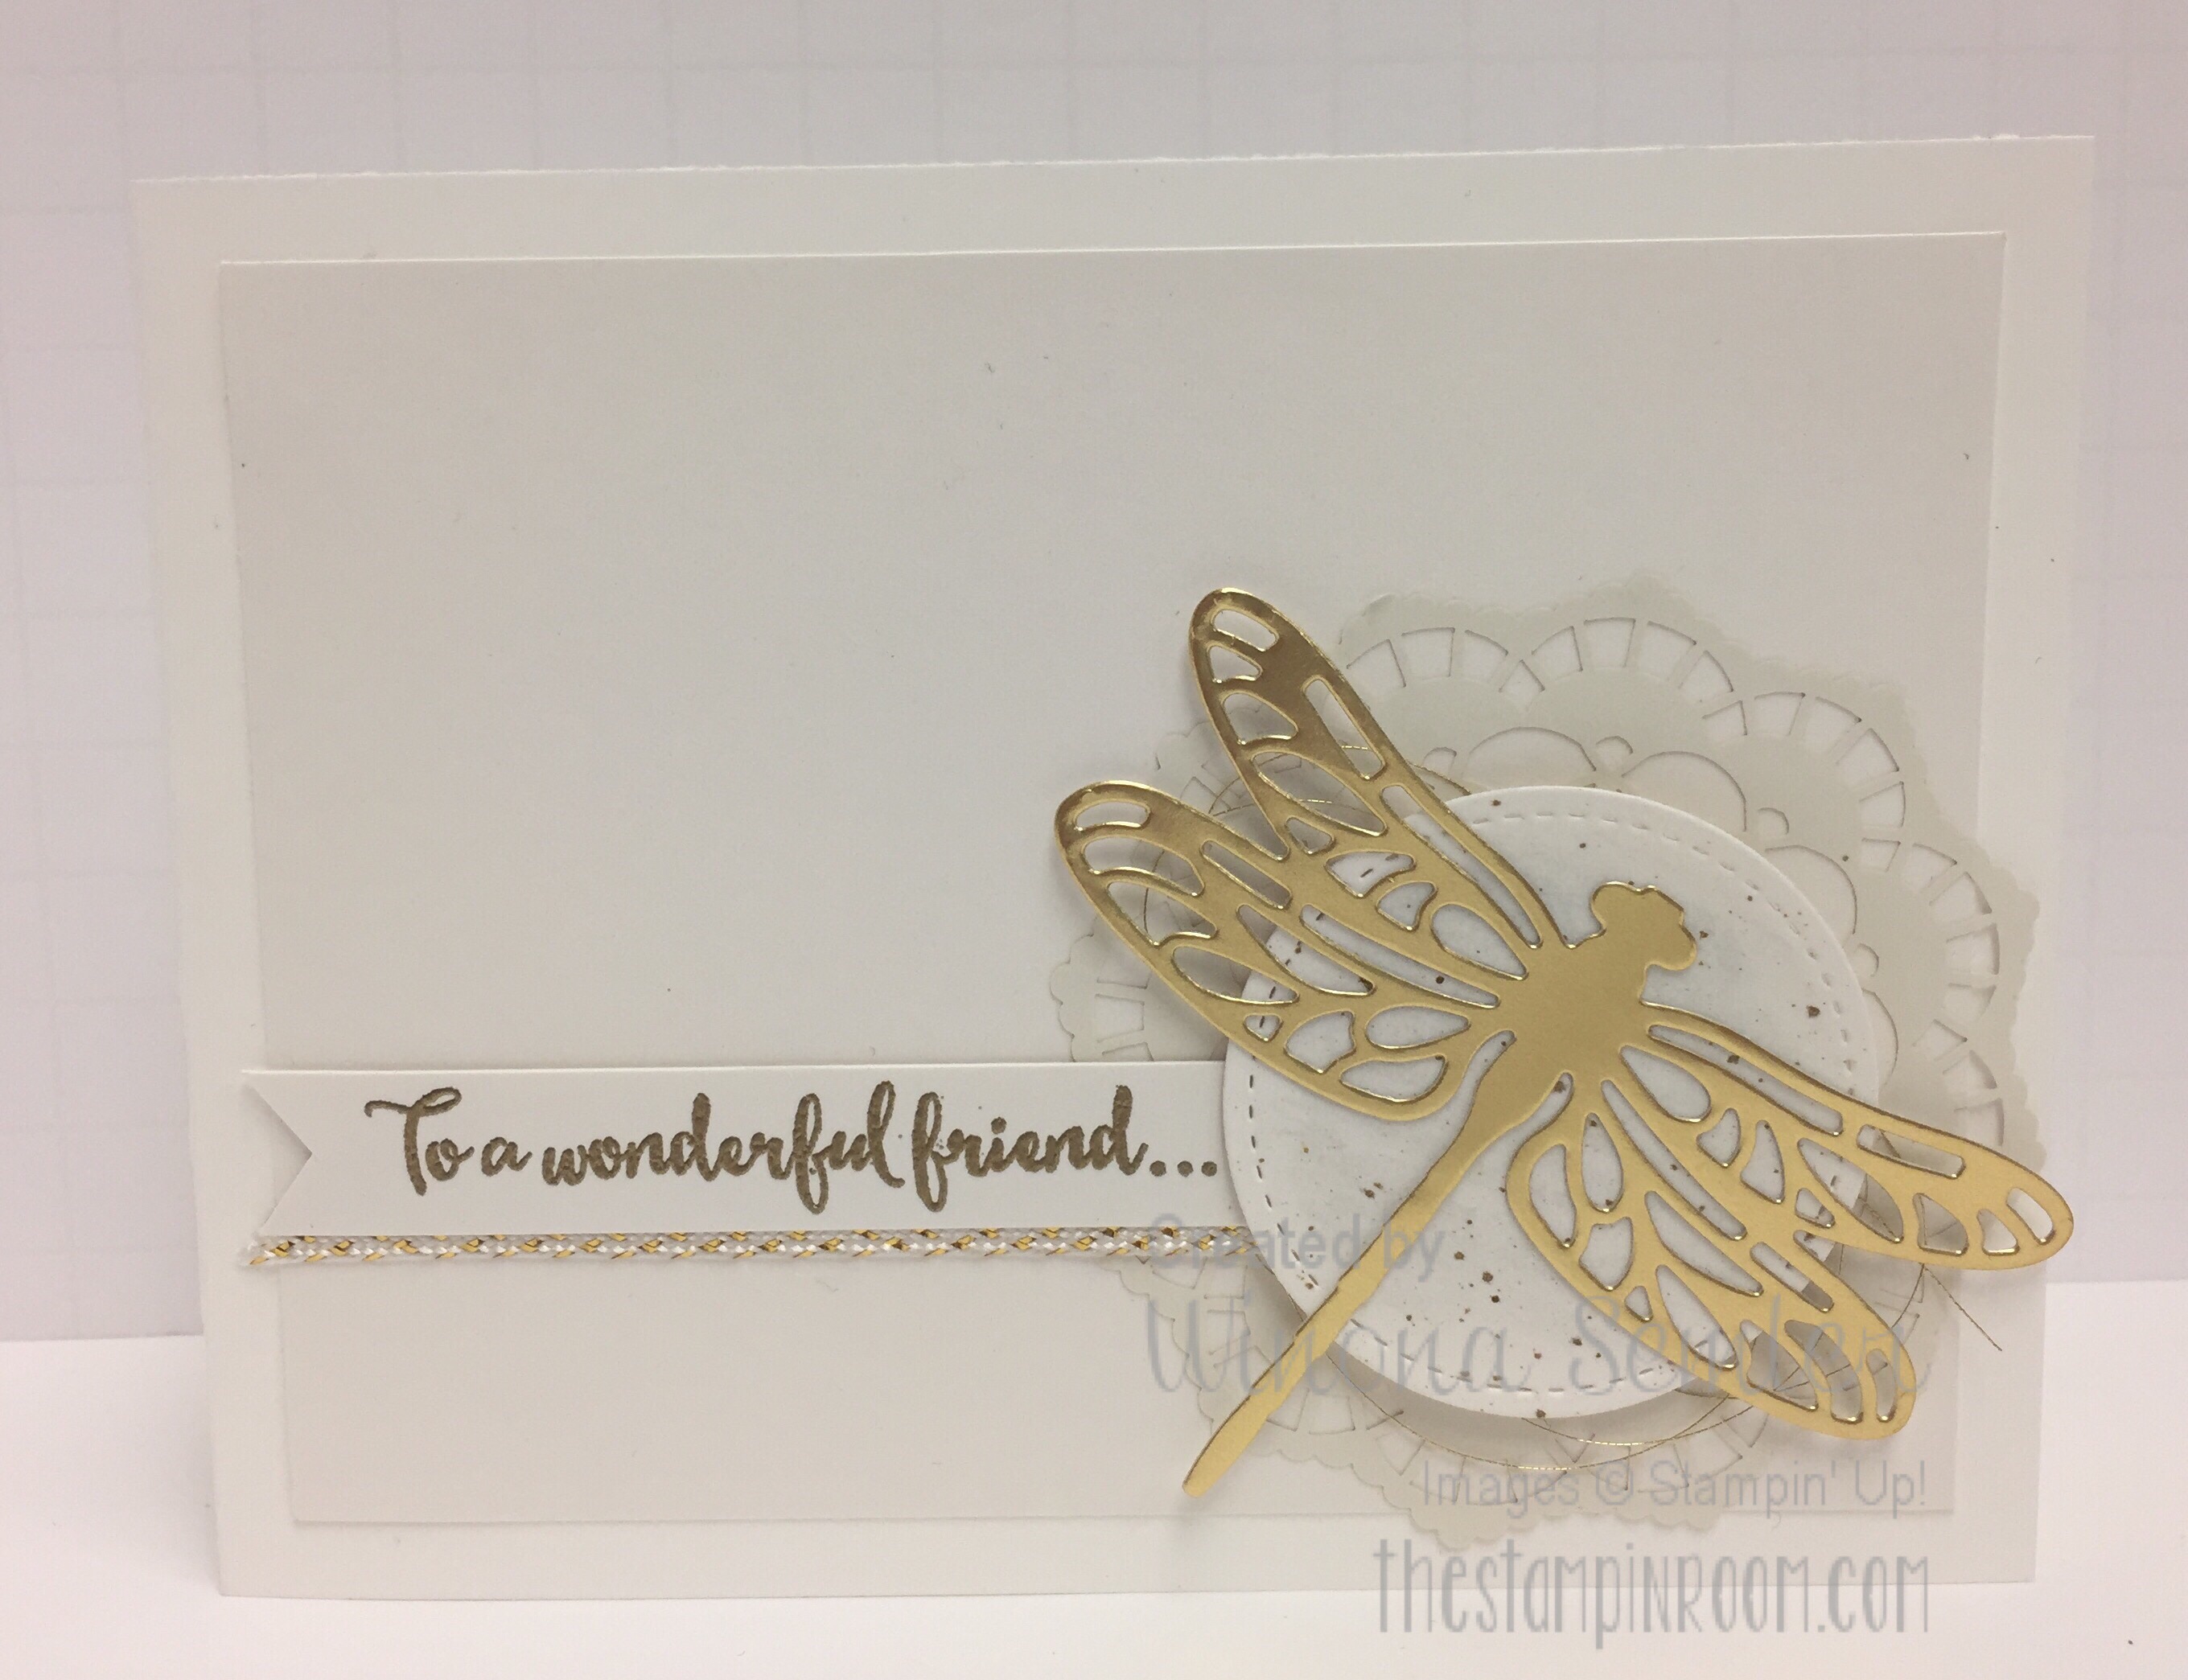
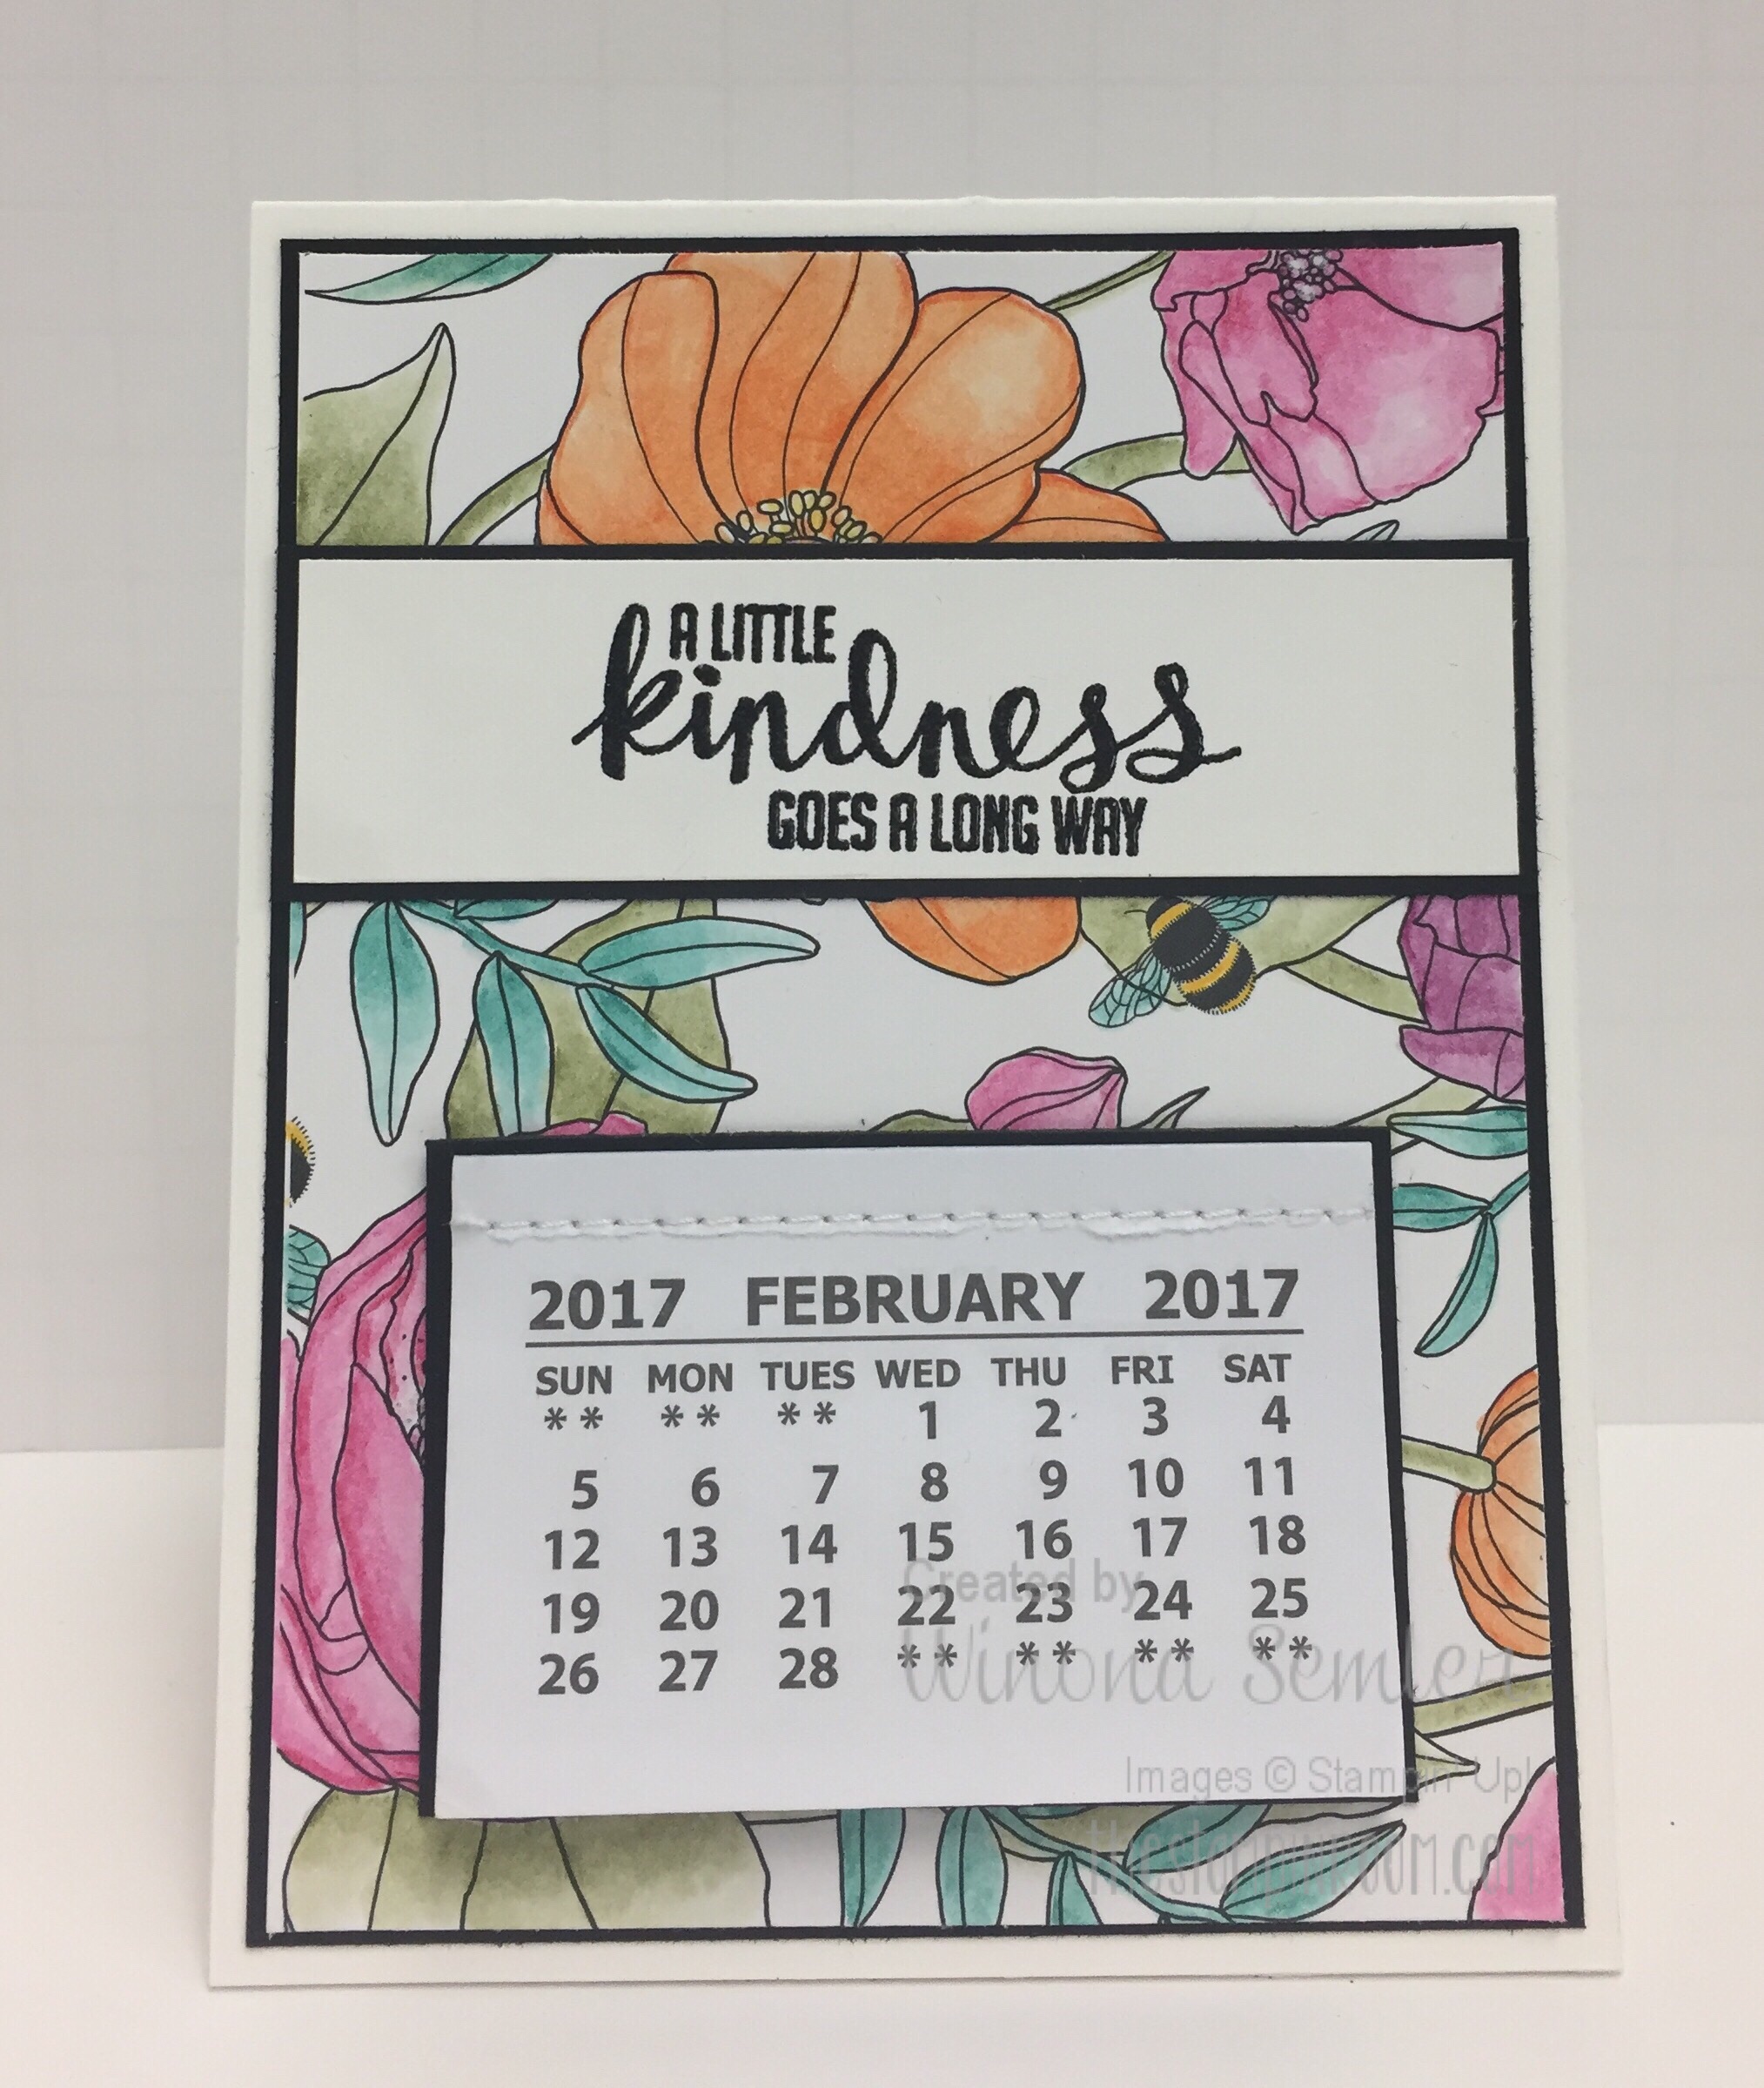
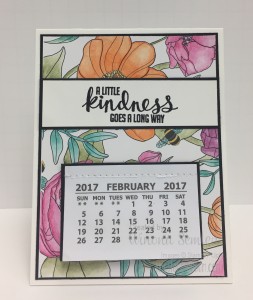
One of our stamp sets called Kinda Eclectic has a similar saying in it…”A little kindness goes a long way.” I chose to use it as the focal point of our easel calendars we made in club last night.
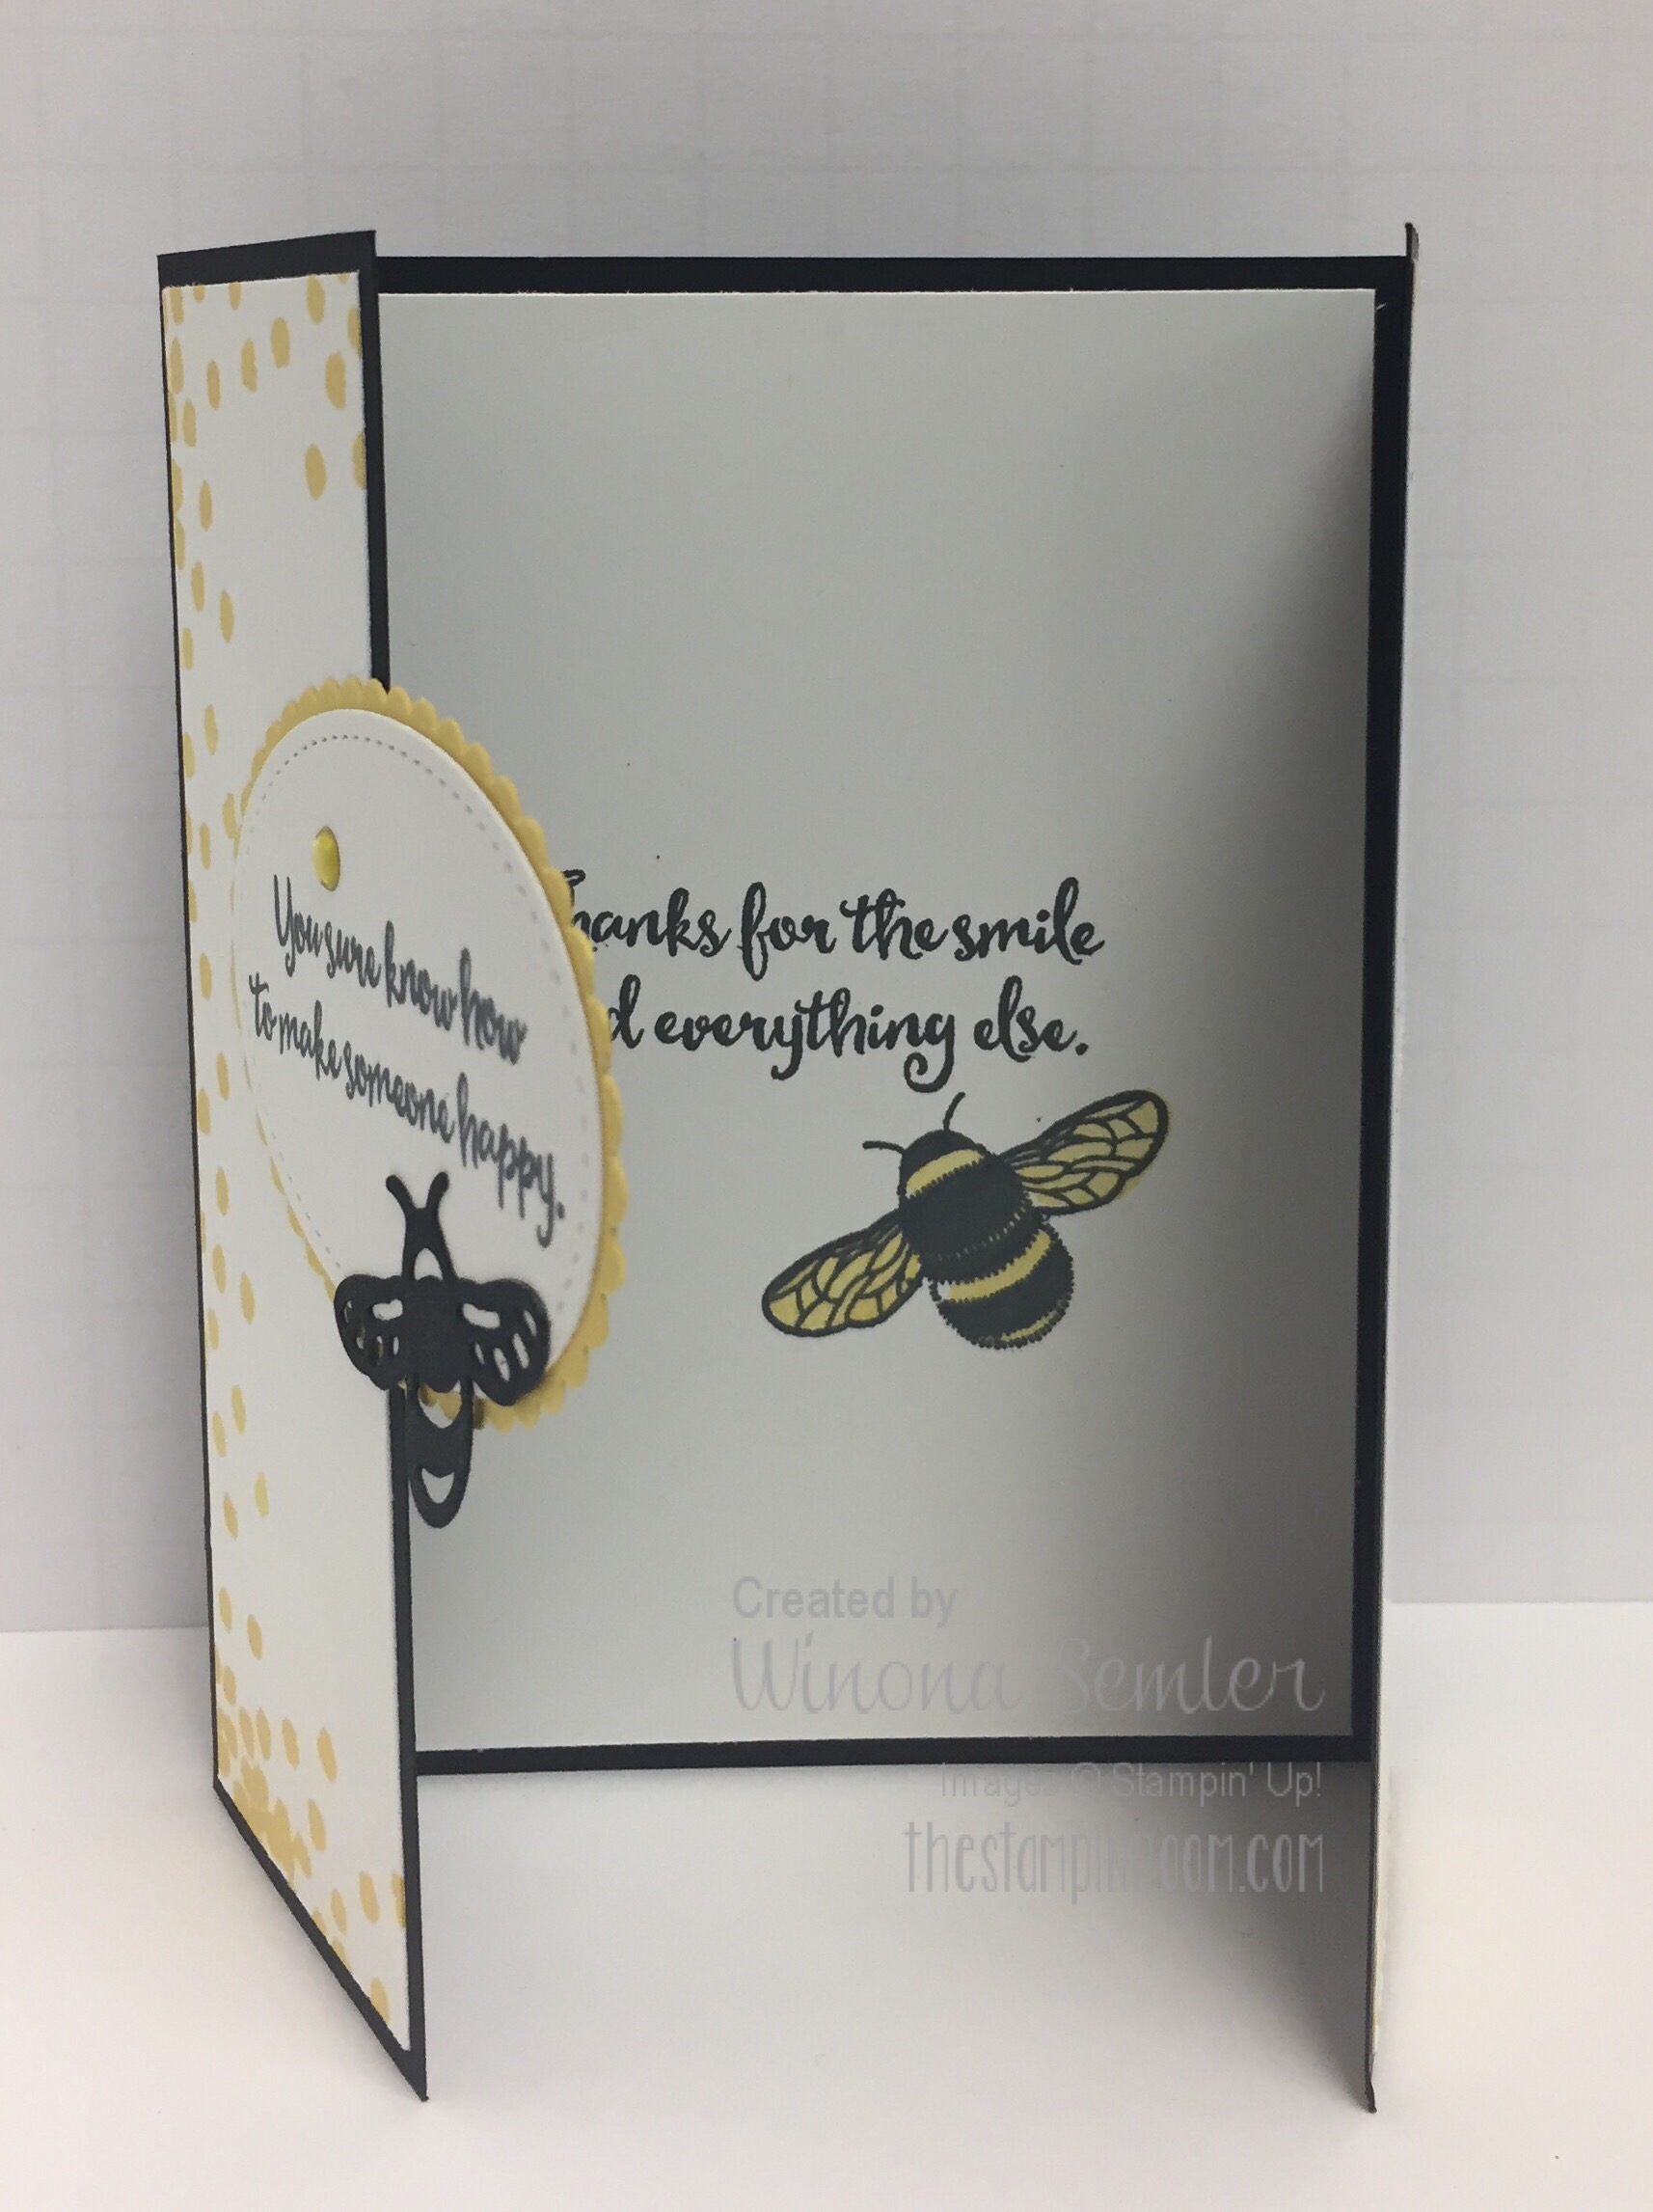
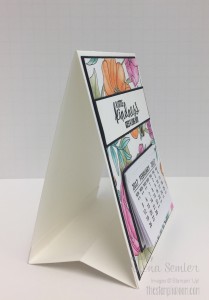
 Here’s a look from the side…
 They are really quite easy to make. We used the new Inside the Lines DSP from the Sale-a-bration brochure, so coloring took a while, but you could use any DSP. We used the Watercolor Pencils and Blender Pens…and you don’t have to be an artist to watercolor. The Blender Pens work their magic making you look like a pro!
To make the easel:
Use Thick White Cardstock.
cut a 4-1/2″ x 11″ piece and score at 5-1/2″ (just like a standard card)
cut a 4-1/2″ x 4″ piece and score at 1/2″, 2″, and 3-1/2″
→ Place Tear & Tape on both 1/2″ end pieces and adhere to the inside of the card base.
The mini calendars can be found on Amazon.
Last night was my first round of classes since coming back from Kelowna. A couple of my friends surprised me with a little kindness of their own. Check these out!
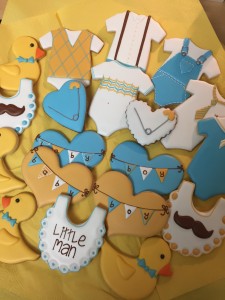 They had been following my posts about our new grandson Huxley, so took some ideas from there. I mean…look at the detail on these cookies. Crazy!
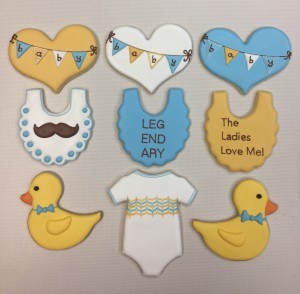 Seriously!! I love them all! Not only do they look adorable, but they taste good too:) Thank you Pearl and Julie…what a treat. (You can check out the creator on Instagram under bevmadecookies.)
They also brought this yummy edible arrangement…
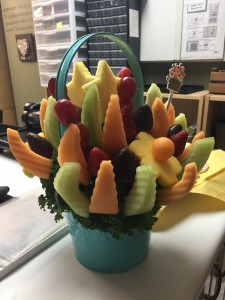 Needless to say, we had a little feast.
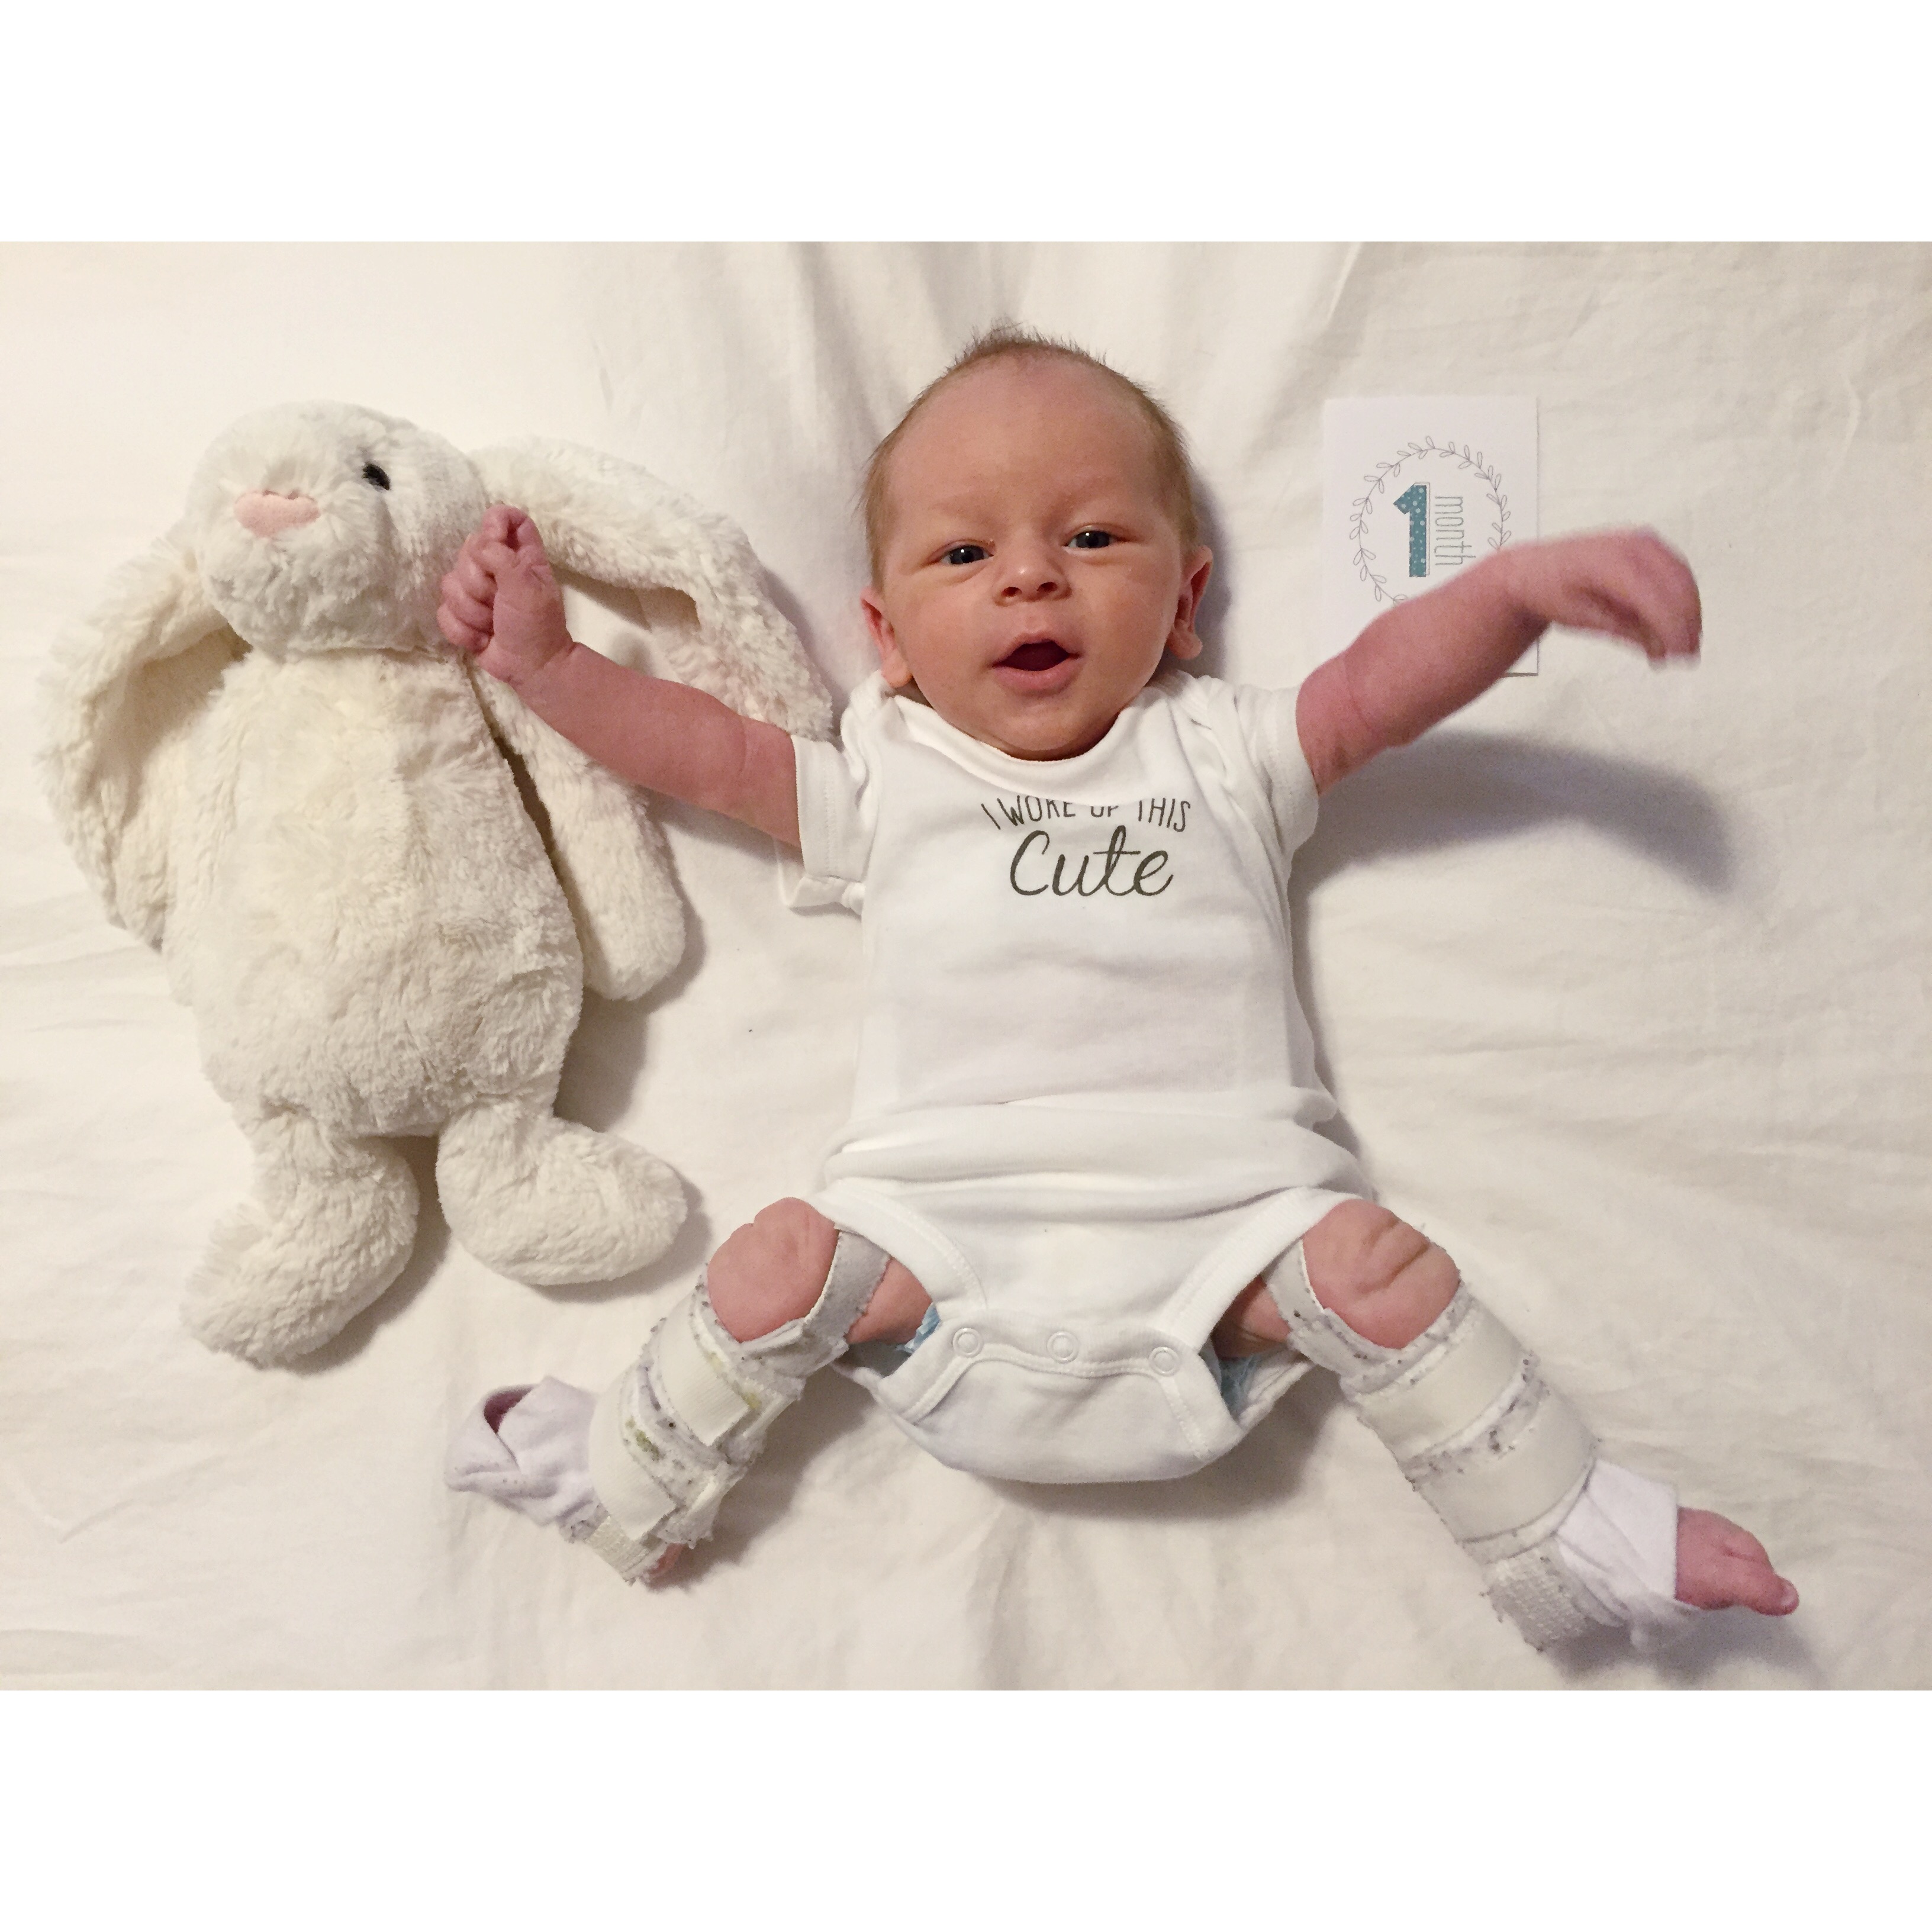
It’s been a little tough coming back to my office this week. I miss all the relaxing family time and daily snuggles with Huxley. For now, Facetime will have to do:)
You can find the supplies to make this easel calendar in my online store HERE. Be sure to take advantage of Sale-a-bration.
Reminder: There is only 1 more week left to register for Stamp Cafe on March 18th!!
Find all the details under Events.
Thanks for stopping by,

 SALE-A-BRATION STAMP CAFE