Summer Bonus Days are here! Did you get everything you want from the new annual catalogue yet? Since it only came out a month ago, you probably still have some items on your wish list, and I have some great news for you! For every $60 you spend in between July 7 and July 31 (before shipping and tax), you’ll get a $6 Bonus Days coupon that you can use August 2–31. This is a great opportunity to shop from your wish list, whether you buy your favourite products now or later in August with your coupons!
DETAILS:
• Promotion Period: July 7–31, 2016
• Redemption Period: August 2–31, 2016
• An email address is required to participate in this promotion; Bonus Days coupon codes can only be delivered via email.
• It is strongly recommended that participants both save emails containing their Bonus Days coupon codes AND write down the coupon codes in a safe place. Codes cannot be resent if the email is lost, and lost codes cannot be recovered.
• Bonus Days coupon codes can be redeemed for any product, excluding Starter Kits and Paper Pumpkin subscriptions. New prepaid Paper Pumpkin codes can be redeemed.
I’m getting in some summer bonus days as well. Currently ending a week of R & R with family.
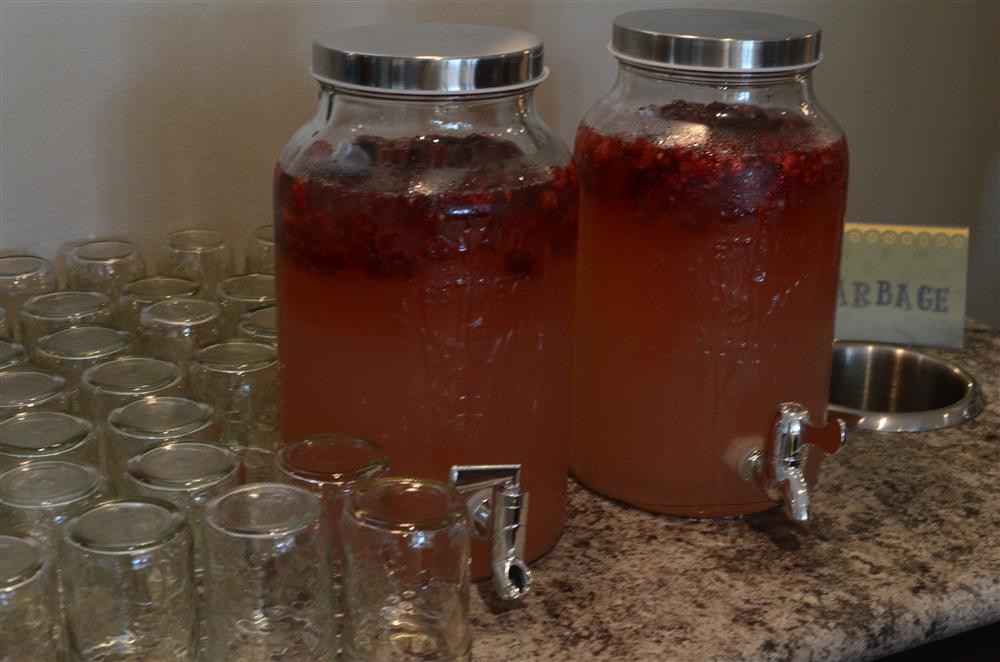
Going for walks…
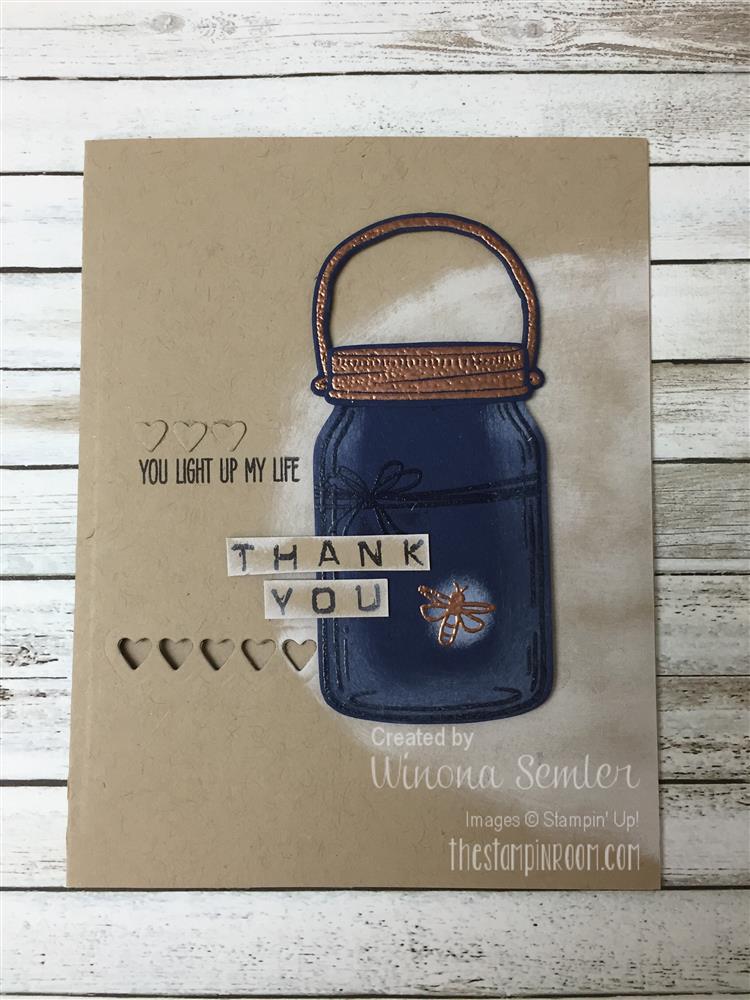
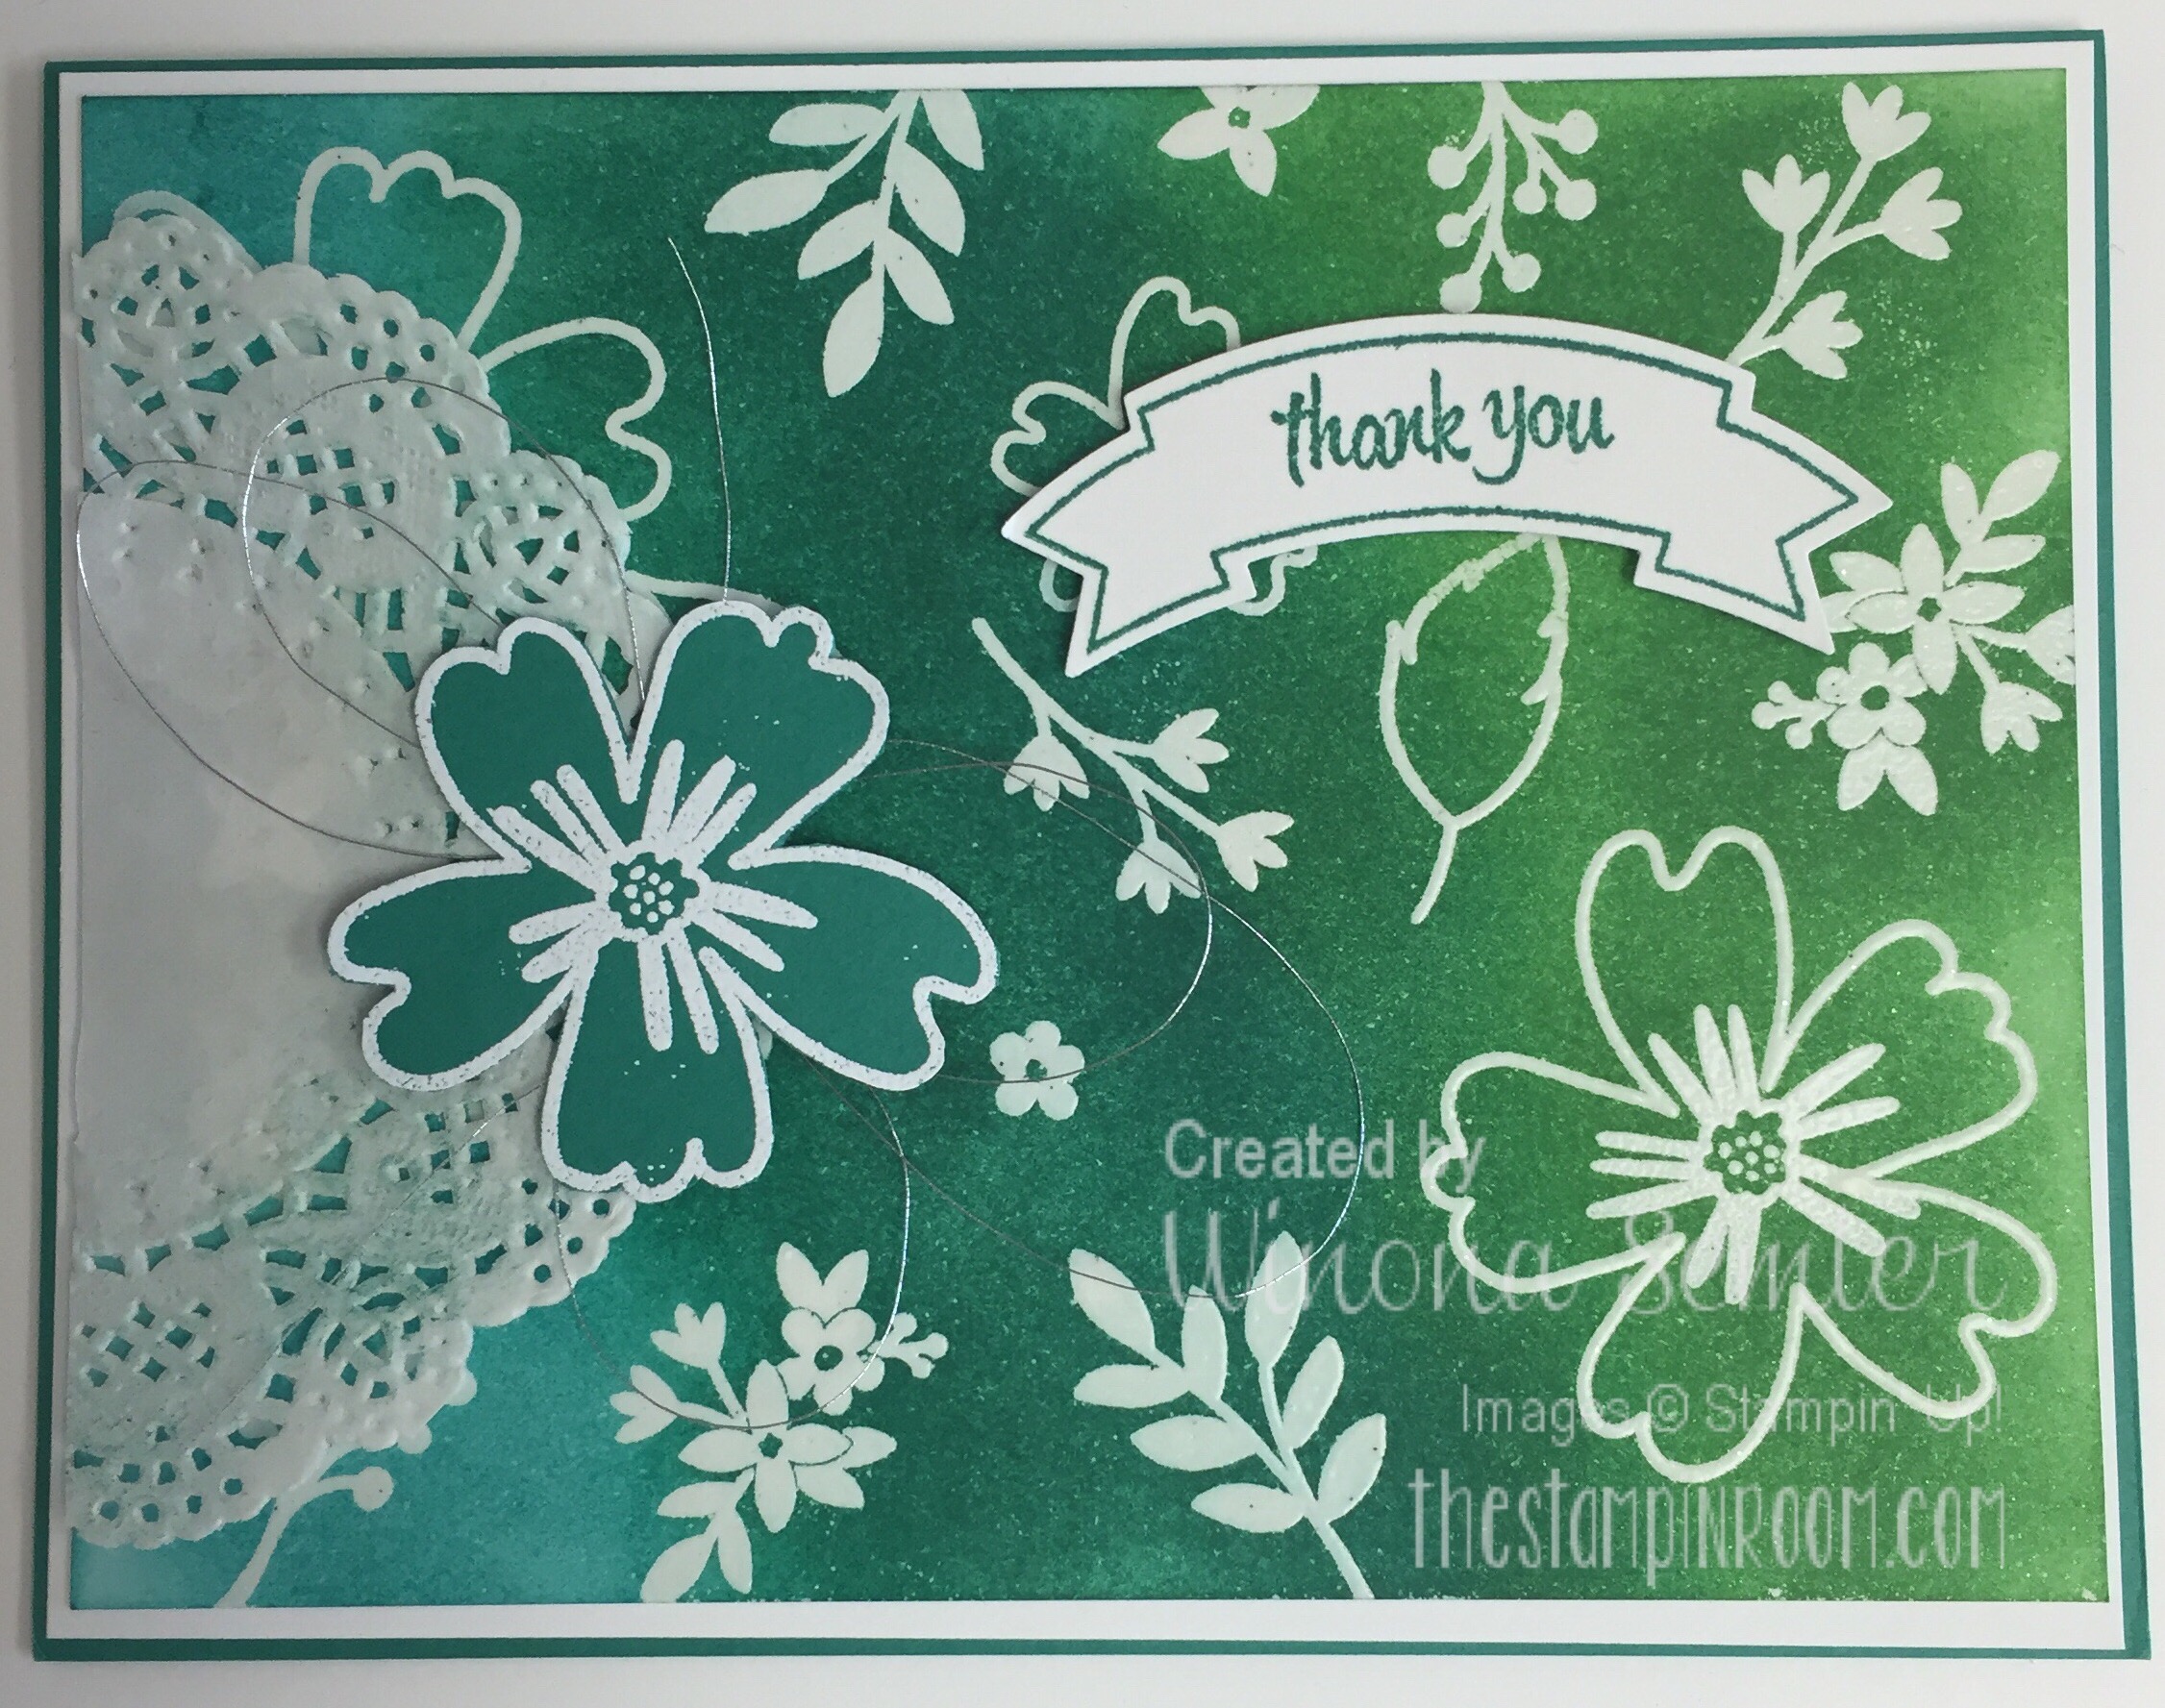
 Working on bridal shower thank you notes…
 and wedding favors…
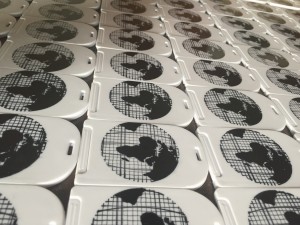 Globes for days! I can’t spoil the surprise by showing the completed favor just yet. You’ll have to stay tuned til after the wedding:)
 Working on bridal shower thank you notes…
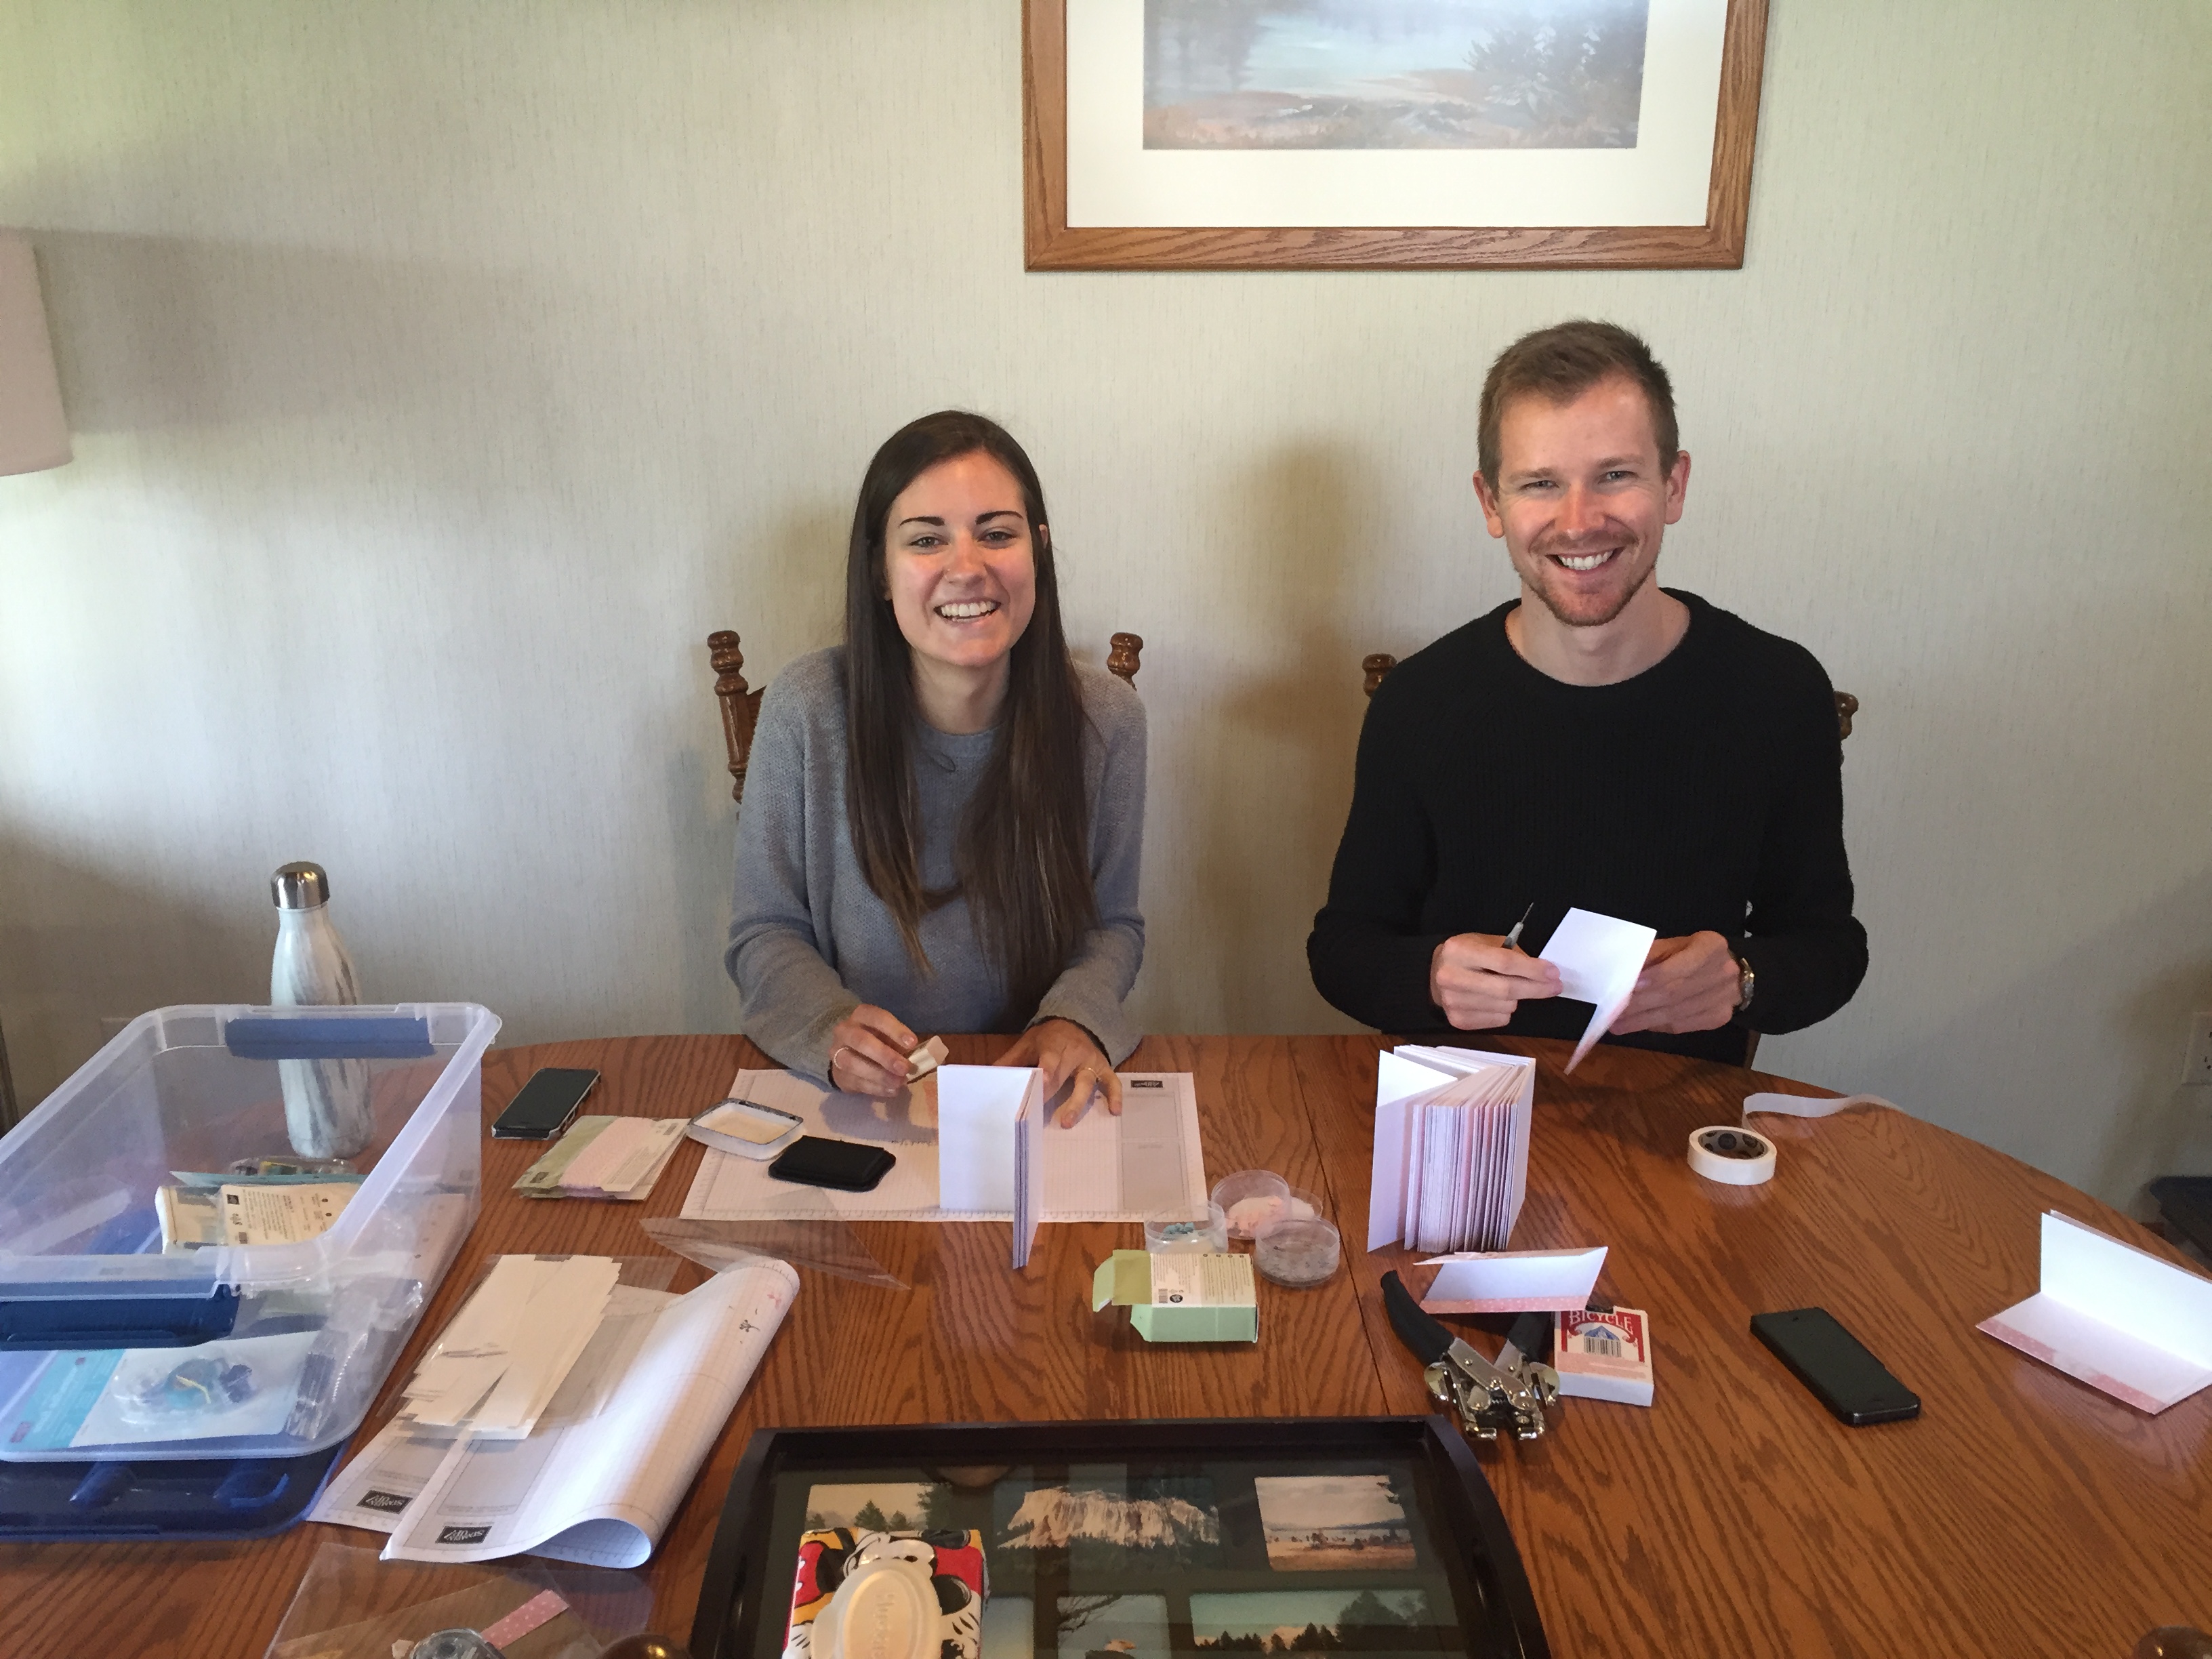 and wedding favors…
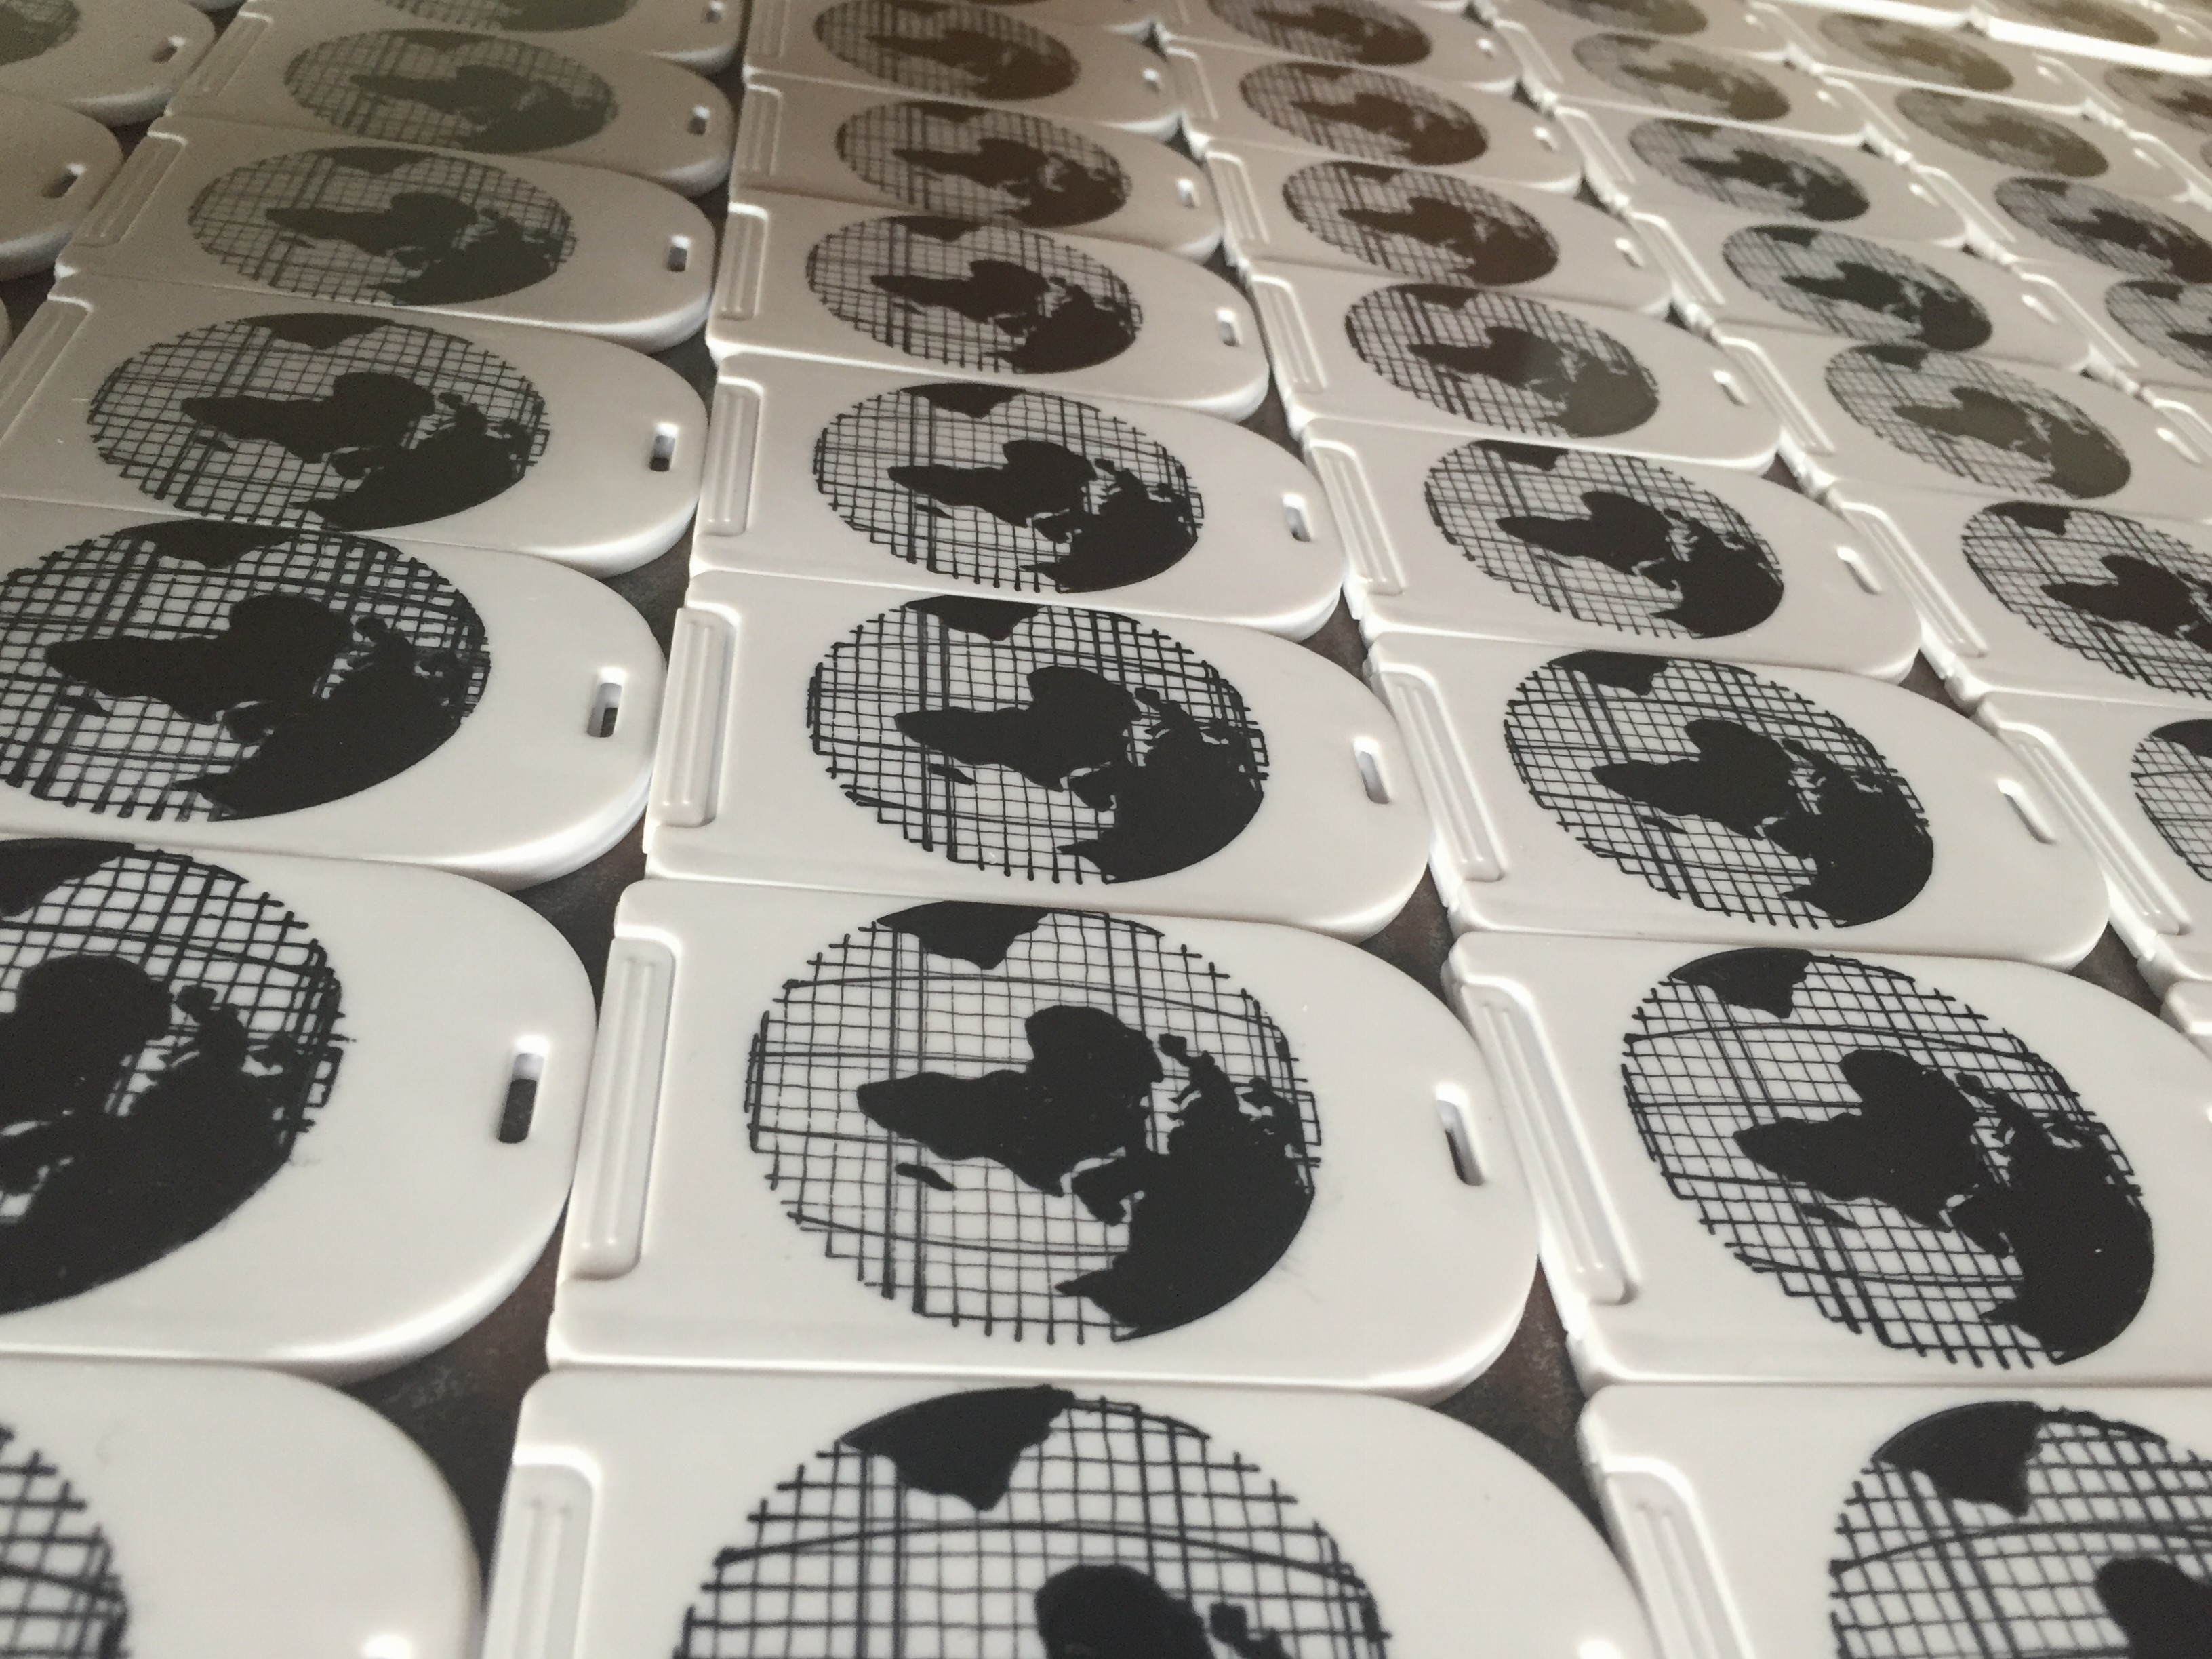 Globes for days! I can’t spoil the surprise by showing the completed favor just yet. You’ll have to stay tuned til after the wedding:)
Thanks for stopping by. Have a great weekend!