 We are SO in love with this little man…seriously. My husband and other daughter arrived last night and they finally got to meet Huxley. We are each making sure we get our snuggles in.
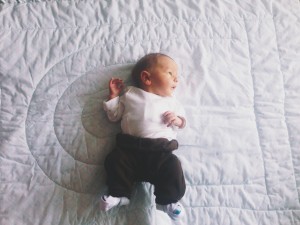 He is 1 week old and we already cannot imagine our lives without him. Welcome to the family sweet Huxley Gordon.
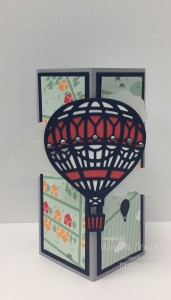
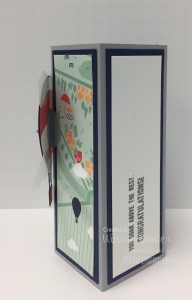
Yesterday I showed you the decorative corner card…they also made a criss-cross card.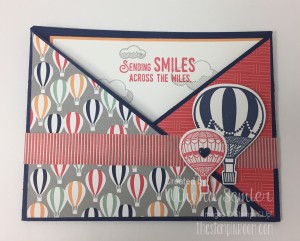 This is a super fun fold with a pull-out message. My team member Lorna Raczynski made a bunch of samples for our display boards in Toronto…this was one of them. I love the message.
 Here are the instructions on how to make a criss-cross card. You’ll notice that the coordinating Carried Away DSP is also used on this card.
Criss-Cross Card:
Supplies: Two 4-1/4” x 11” pieces of cardstock (for your card base)
One 4” x 5” piece of patterned paper
One 3-3/4” x 5” piece of coordinating cardstock (for insert)
One 3-5/8”x 4-7/8” piece of neutral cardstock to stamp on (for insert)
Step 1: Score both 4-1/4” x 11” pieces of cardstock at 5-1/2”.
Step 2: Take one scored piece and cut it diagonally from centre top to the bottom left.
Step 3: Take the other piece of scored cardstock and cut it diagonally from the centre top to the bottom right.
Step 4: Tape both pieces together (using Fast Fuse or Tear & Tape). Make sure both long edges of the diagonal sections are on the bottom.
Step 5: Cut the patterned paper in half diagonally and adhere them to your card front.
Step 6: Tape the card base together using Tear & Tape.
Step 7: Stamp on inside neutral piece and adhere to solid piece for insert. Slide it in.
You will find the Lift Me Up Bundle and all these supplies in my online store HERE.
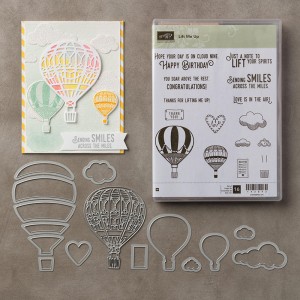 Remember that you get to choose a free item from the Sale-a-bration brochure when your order is over $60. If you order this Lift Me Up Bundle, you can receive the Carried Away DSP as your free item!
If you have been thinking about purchasing the Stampin’ Up! starter kit, now is a great time. In addition to free shipping and taxes on your kit, you get an additional 2 FREE stamp sets of your choice. You have nothing to lose. I would love for you to give it a try:) Click HERE to choose the products you want and build your personal kit.
