The leaves are changing color and I put on a pair of wool socks yesterday. What?
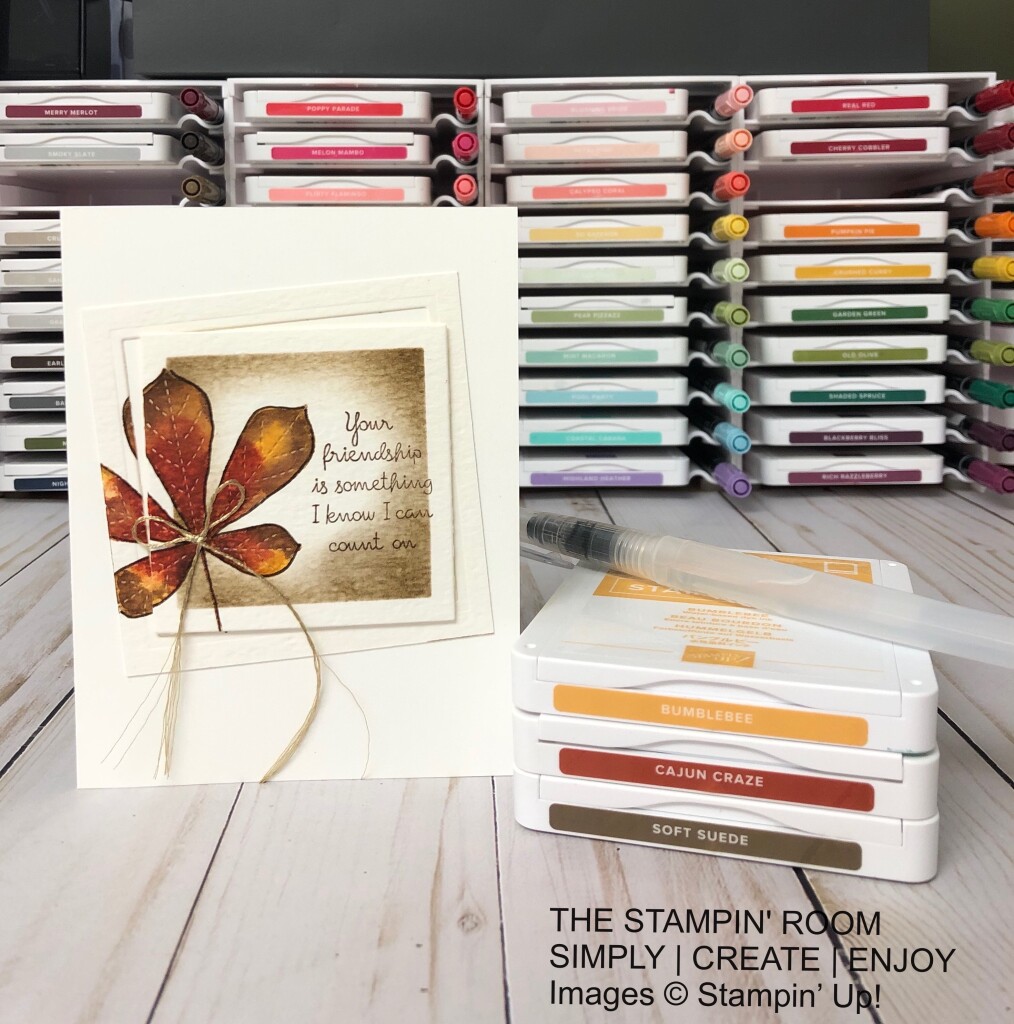
 Fall leaves can provide some very pretty color combos to inspire our creativity. I’d like to share a card today that uses some sponging and watercoloring techniques.
 The card base is simply a Whisper White 5-1/2″ x 8-1/2″ scored in half at 4-1/4″. (I use our Thick Whisper White Cardstock for all my bases.)
A few steps:
1. Start with a 3-1/2″ square piece of watercolor paper. I masked off 1/4″ all around the edge using post-it notes. Our grid paper comes in very handy…each square is 1/4″!
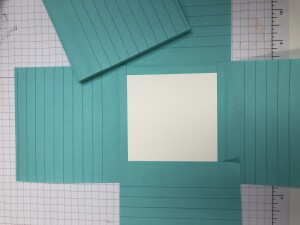 2. Now sponge Soft Suede ink around the edges. Just make sure you sponge off a bit of ink onto your grid sheet first. Come at it from the edges so it’s not so dark as soon as you put your sponge down. Does that make sense? Start light. You can always add more. Once you’re happy with how it looks, you can remove the post-it notes. You will be surprised at how lovely it looks with a border around the edge.
3. Take your leaf stamp and ink it up with our new Bumblebee ink. Flip it over and sponge some Cajun Craze and Soft Suede right onto the stamp. Give it a little “huff” and then stamp it onto your watercolor square. I stamped mine over to the left side so I would have enough room for my sentiment. You might even want to stamp your greeting first so you know how much room you have.
4. Your leaf will look quite light and washed out. But now the magic starts! Take a water painter (aka aquapainter) and begin to blend the colors on your stamped image. I even dabbed on some extra ink from the lid of my stamp pads to darken it up a bit. Play around with it. It will look different each time.
5. Let it dry…and if you’re inpatient like me, you can heat set it with your embossing tool. Now center the stitched leaf die over your leaf and run it through your die-cutting machine. It will give it that beautiful stitched detail.
6. Finally, die-cut your finished piece using our layering square dies. I used the largest square which is 3″.
7. Finishing touches…off-set it a bit and pop up the middle with dimensionals. Tie a gold bow and attach with glue dots. Voila!
 Have you fallen in love with this Love of Leaves bundle yet?
SUPPLIES
Ink Colors: Soft Suede, Bumblebee, Cajun Craze …and an Early Espresso Stampin’ Write Marker
Cardstock: Thick Whisper White, Watercolor Paper
Additional Tools: Layering Squares Dies, Sponge Daubers
Embellishments: Forever Greenery Trim Combo Pack
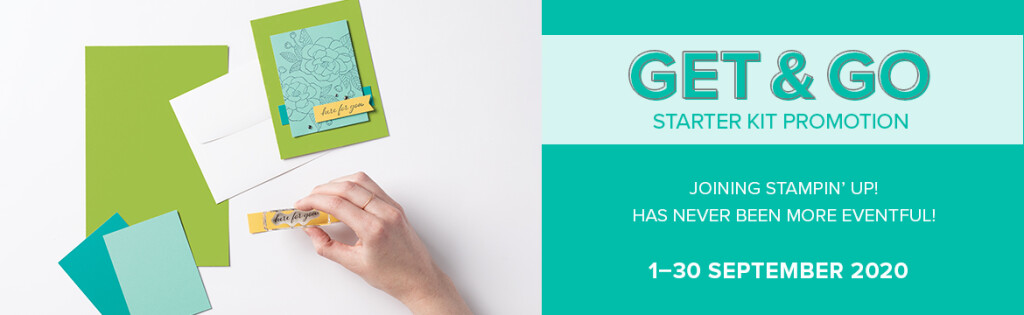
 Placing an Order…
You can order anytime through my online store at www.thestampinroom.stampinup.net
Use the September Hostess Code 3Y42YFDW at checkout.
Unless your order reaches the $200 threshold…then you will receive free hostess dollars!!
Did you know?
I purchased my starter kit at this time of year and it was perfect timing for all those holiday crafters. It was pretty easy to get orders from friends and family right off the get go. So many people love to give handmade gifts and cards at Christmas. Even if they don’t consider themselves crafty, there’s just something about the holidays that makes them want to try it out.
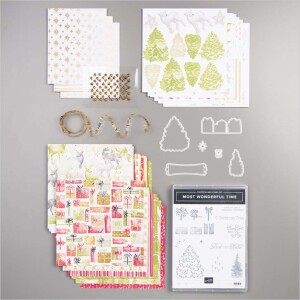
We even have four Christmas Kits in the mini catalogue.
Joy of Sharing…
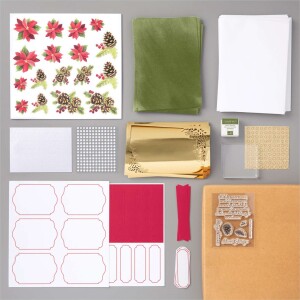
Tag Buffet…
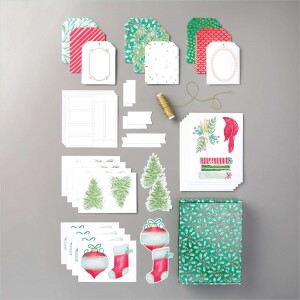
Christmas Countdown…

And finally Most Wonderful Time …
Maybe you could advertise those to your friends and family? It was a big confidence boost getting those first orders. I thought…”wow…I can actually turn this into a little business!”
 Have a great day everyone!


