More Sheltering Tree…

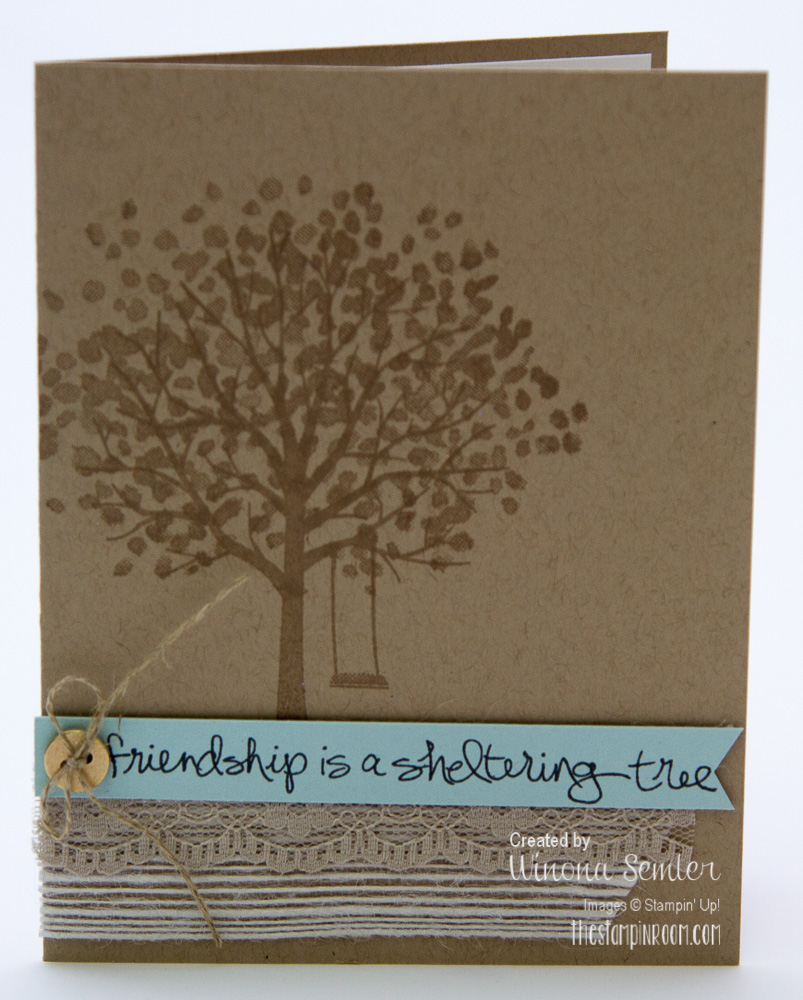
I have 3 more ideas to share with you today using that same Sheltering Tree stamp set.

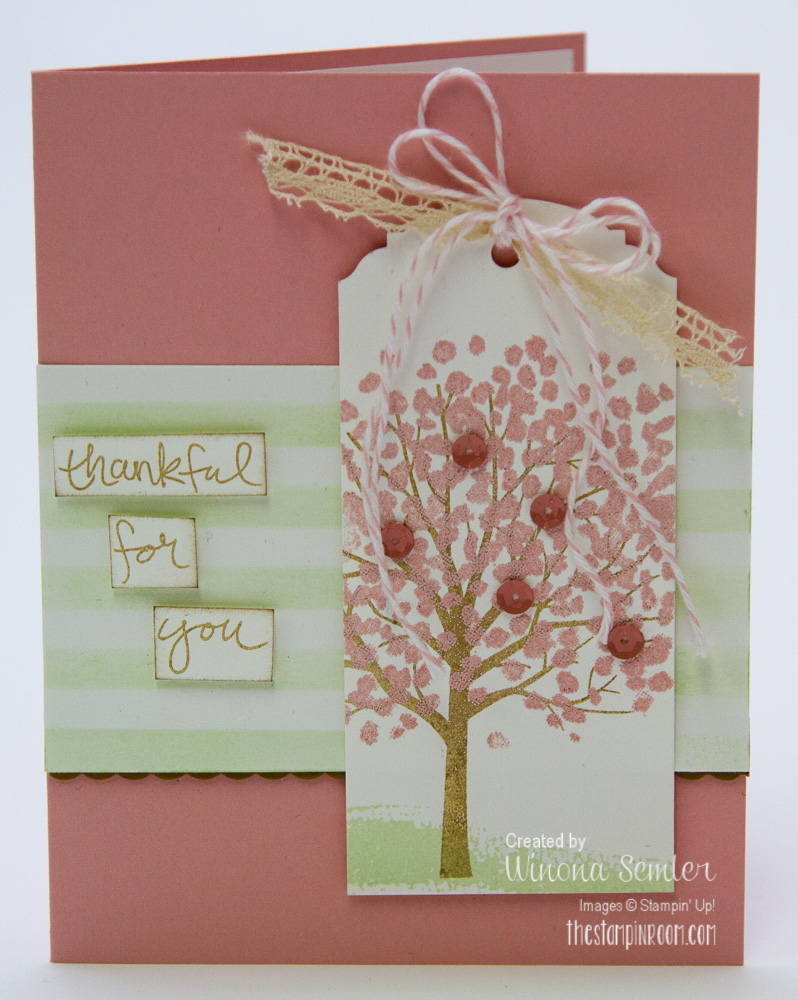
#4: I embossed the blossoms on the tree with blushing bride embossing powder and embellished it with the little sequins from the InColor Sequin Assortment. The dots & stripes decorative masks were used to create the stripes in the background. I simply used my sponge daubers and pistachio pudding ink. SO pretty!

sheltering_tree-4


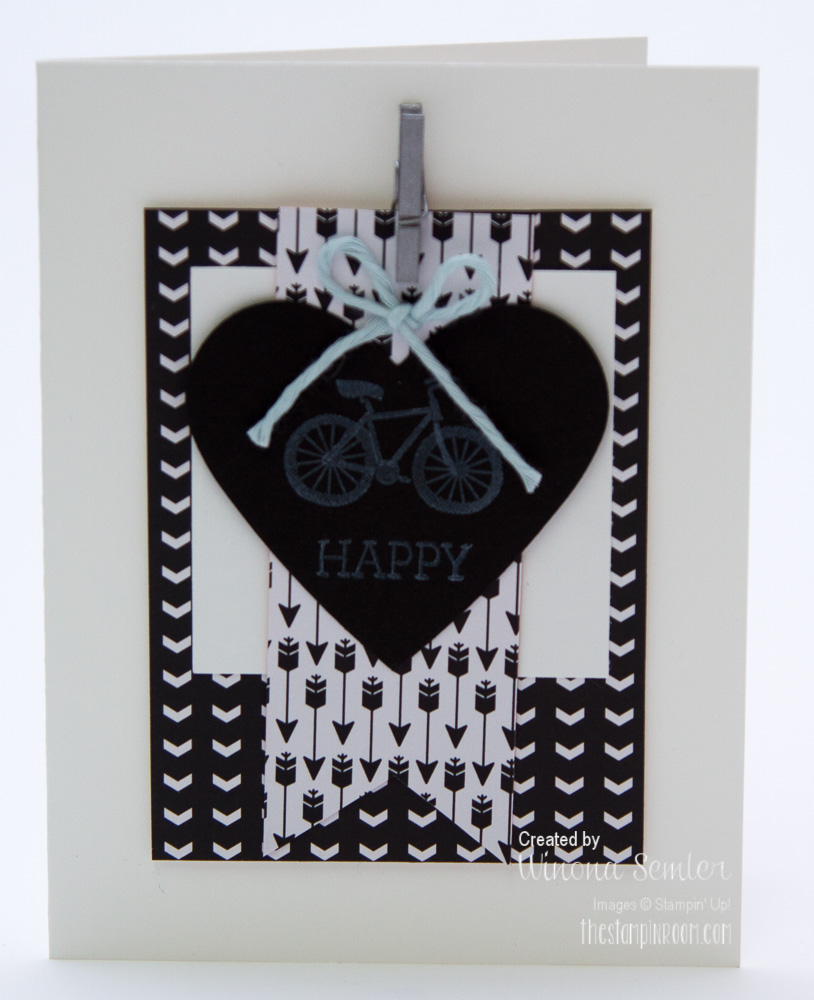
 #5: I cased the idea for this card from the Hello Life Project Kit in the Occasions Catalogue. Super simple. LOVE the bicycle :) The word HAPPY is from the Crazy About You set. Love the black & white look.

sheltering_tree-5


 #6: And finally, I showed them how to make tile art…and turn them into coasters. The black/white ones used Whisper White Craft Ink onto Chalkboard Paper. The vanilla ones were Black StazOn ink onto our vanilla coaster board.

sheltering_tree-6

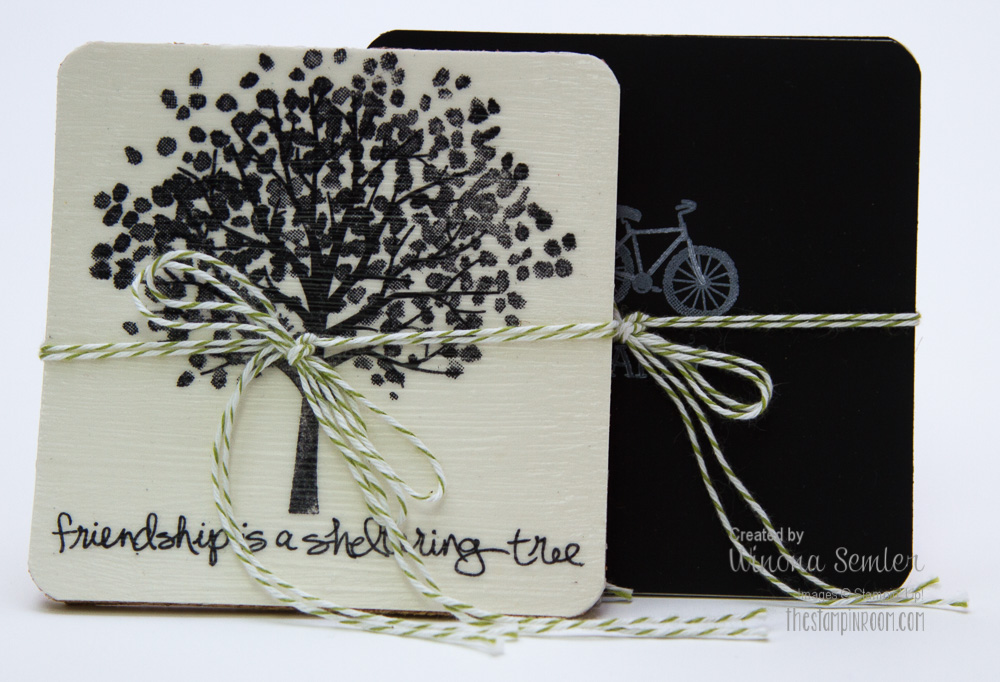
 If you want to turn them into coasters, you need to seal them with a Krylon spray first, then paint a thin layer of modpodge over all. I rounded the corners and adhered them to some cork backing. (Crystal Effects works well.) These make great hostess gifts!!

Don’t forget to check out the new Weekly Deals!

You can shop 24/7 through my online store. All supplies for these projects can be found there! Remember when you place a qualifying Sale-a-bration order online ($60 or more), you will receive a set of 4 tile art pieces as shown above.

Thanks for stopping by.
Have a good one,

Signature

Guest Presenter…Sheltering Tree

It was a complete honour to not only attend Becky Robert’s event, but also to be a guest presenter.

Winona_Presenting_Inking_Idaho-1I chose to share project ideas using the Sheltering Tree stamp set. Here are the first 3:

#1: I started off sharing the simplicity of the set. Stamping the tree in smoky slate onto our note cards is a clean & simple look. Wrap several up with basic gray baker’s twine and you have a lovely gift.

sheltering_tree-1#2: The tree is so versatile…not only does the set represent all the seasons, but it can also be a heart tree…stick flowers in it…stick stars in it. The sky is the limit. Our daughter in Australia still has her little Christmas tree up :-) She took the ornaments off and it became a Valentine’s tree. She just had a birthday a few weeks ago and it became a birthday tree. (Don’t know how her husband is coping ;-) .)

sheltering_tree-2 

#3: Next I stamped it in crumb cake onto crumb cake cardstock and added some new ribbons and embellishments to accent the greeting.

sheltering_tree-3

Hope your creative juices are flowing! Check back tomorrow for 3 more ideas.

Signature 


I like your face

Oh my gosh! Aren’t these just super cute?! I just want to sit down and make a stack of them…and they’re not only for kids!!

First of all, the cards are really quick and easy to make. The Cute Critters are stamped on our smaller notecards which are 3-1/2″ x 5″. They even come with envelopes. The greetings are: I Like Your Face! Way to Go! Happy Day! Hooray! and Let’s Party!

I wanted to use our Stampin’ Blendabilities (which are alcohol ink markers) to colour them, so I used Tuxedo Black Memento Ink (water based, fast drying dye ink) to stamp the images. Blendabilities are AWESOME for blending and shading. With a little bit of practice, you can colour and blend like an artist.

I then adhered smaller pieces of the Adventure Bound Designer Series Paper Stack onto the bottom halves of these notecards to make it look like the critters are popping up from behind a fence. One of the trainers (Alisa) demoed this idea at Leadership and we all squealed. LOVE these! Which is your fav? If I had to pick one, I’d have to say the bunny because it looks just like the one my daughter received as a baby…and still has to this day ♥

cute_critters-1Berry Baskets are very trendy right now. Wouldn’t this berry basket of cards look sweet on a teacher’s desk? I cut this one out of Coaster Board to make it extra sturdy. The baskets go together lickety-split when you use our new Handheld Stapler. Just wrap a piece of coordinating ribbon around the basket and voila! An adorable gift.

Thanks for stopping by,

Signature  

Built for Free Using: My Stampin Blog


Don’t forget about this week’s WEEKLY DEALS