Event Projects

There were 4 different event projects on Saturday. This first one was designed by Sherry Roth. She did a whole demonstration on a birthday class using products from the It’s My Party suite.
MT-1The inside was made using the new Party Pop-Up Thinlits Dies. How fun is that?
MT-2Then they had their choice of a juvenille girl card…or boy card…using the Hello stamp set from the Sale-a-bration offerings. Remember, this one is only available for a couple more weeks, so get it while you can.MT-5

MT-6I’m loving the Balloon Celebration bundle. Check out these sparkly blushing bride glimmer balloons!
MT-3
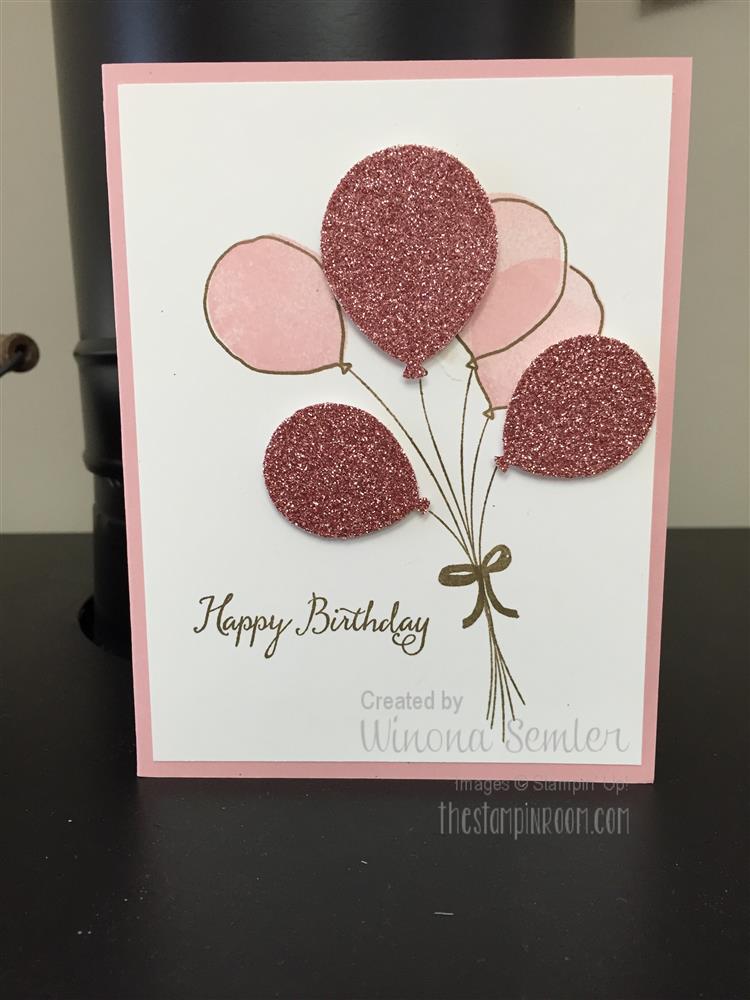
Finally, they got to play with the Rose Wonder Bundle a little bit. Donna Wizniuk provided this design. I love the watercolored background and the white embossed sentiment…sorry it’s a little difficult to see. Very pretty in person though.MT-4And it’s Tuesday, so you know what that means…
New Weekly Deals 

Built for Free Using: My Stampin Blog

 
Registration is still open for the following classes:
      A Birthday Card Stamp-a-Stack on Monday, February 8th…
     and a full day Stamp Cafe Event on Saturday, March 19th.
     **You can RSVP by emailing me today @ www.thestampinroom.com**
 
So many ways to save right now during Sale-a-bration!
  • Weekly Deals
  • Save on 3 month Paper Pumpkin subscription
  • Free Product…Spend $60 and choose a free exclusive item.
  • Extra Hostess Rewards when you host a qualifying party or class.
  • Join my team for the best deal of all…a starter kit worth $195 in product but you only pay $125!!
 Thank you for stopping in tonight. Good night.
Signature

I like your face

Oh my gosh! Aren’t these just super cute?! I just want to sit down and make a stack of them…and they’re not only for kids!!

First of all, the cards are really quick and easy to make. The Cute Critters are stamped on our smaller notecards which are 3-1/2″ x 5″. They even come with envelopes. The greetings are: I Like Your Face! Way to Go! Happy Day! Hooray! and Let’s Party!

I wanted to use our Stampin’ Blendabilities (which are alcohol ink markers) to colour them, so I used Tuxedo Black Memento Ink (water based, fast drying dye ink) to stamp the images. Blendabilities are AWESOME for blending and shading. With a little bit of practice, you can colour and blend like an artist.

I then adhered smaller pieces of the Adventure Bound Designer Series Paper Stack onto the bottom halves of these notecards to make it look like the critters are popping up from behind a fence. One of the trainers (Alisa) demoed this idea at Leadership and we all squealed. LOVE these! Which is your fav? If I had to pick one, I’d have to say the bunny because it looks just like the one my daughter received as a baby…and still has to this day ♥

cute_critters-1Berry Baskets are very trendy right now. Wouldn’t this berry basket of cards look sweet on a teacher’s desk? I cut this one out of Coaster Board to make it extra sturdy. The baskets go together lickety-split when you use our new Handheld Stapler. Just wrap a piece of coordinating ribbon around the basket and voila! An adorable gift.

Thanks for stopping by,

Signature  

Built for Free Using: My Stampin Blog


Don’t forget about this week’s WEEKLY DEALS

Etch-a-sketch

So today I have a fun card to share with you. When I saw this card on Pinterest, I just had to make it. It actually made me buy this stamp set in the Occasions Catalogue (From the Herd)!  Do you remember playing with an etch-a-sketch? Isn’t this awesome? I think I know some little people in my life that are going to love this card.

Here’s a quick how-to instruction:

The card base is Whisper White. The herd image is stamped onto Smoky Slate cardstock using Black StazOn ink. Then you just scribble in a couple of areas with a Basic Gray and Basic Black marker. Don’t make it look perfect. The finishing touch that makes it look like an etch-a-sketch is the piece of Window Sheet over top. (The Smoky Slate and Window Sheet pieces should be cut to 4″ x 5-1/4″.) Take a quarter sheet of Real Red cardstock and cut a rectangle out of the middle using the Project Life Cards & Labels Framelits. Then of course you need to round the corners of the card and pop up two white circles in the bottom corners using Stampin’ Dimensionals.

I love all the greetings that come with this set as well: from the herd…it’s pasture birthday…just looking in on you…party animals…  I sign all of our family birthday cards with all our kids names now…and their significant others. Sometimes I run out of room. This could be my new family birthday card…and signed “from the herd”. Just sayin’…

Shop HERE to find this super-fun stamp set so you can make these cards for YOUR friends and family!

Have a fun-filled day!

Signature 

Built for Free Using: My Stampin Blog


Don’t forget to check out this week’s WEEKLY DEALS :)